In mechanical processing, drilling processing has become common. Many parts require more or less drilling. In the CNC drilling service, the processing service of smaller diameter holes often has some small problems, resulting in a lot of waste, and affecting the machining accuracy, machining quality, and production efficiency, which is caused by the easy breakage of the smaller drill bit.
Basic Concepts of CNC Drilling
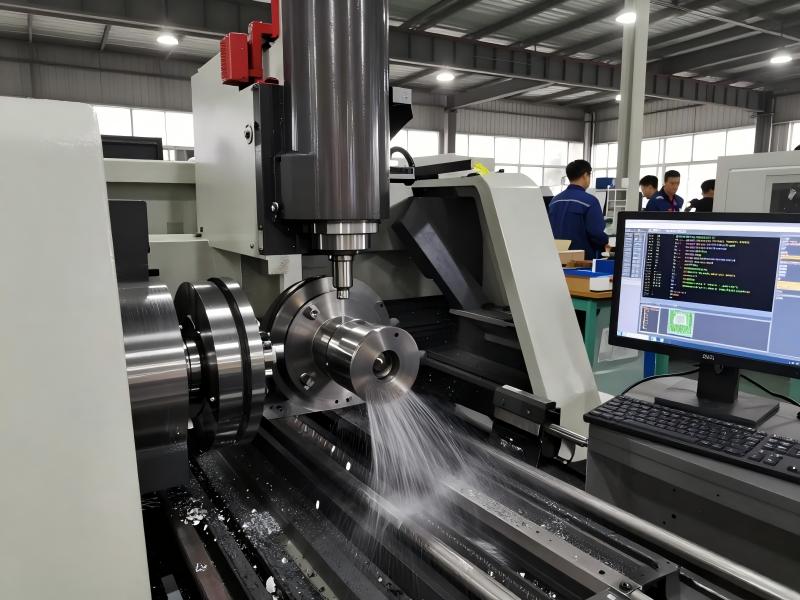
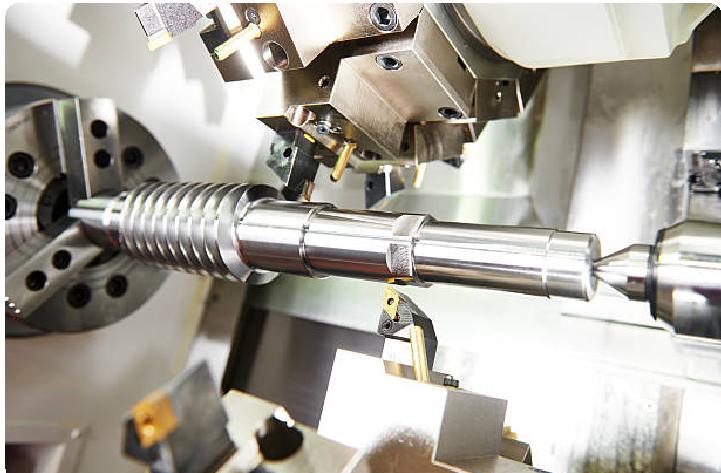
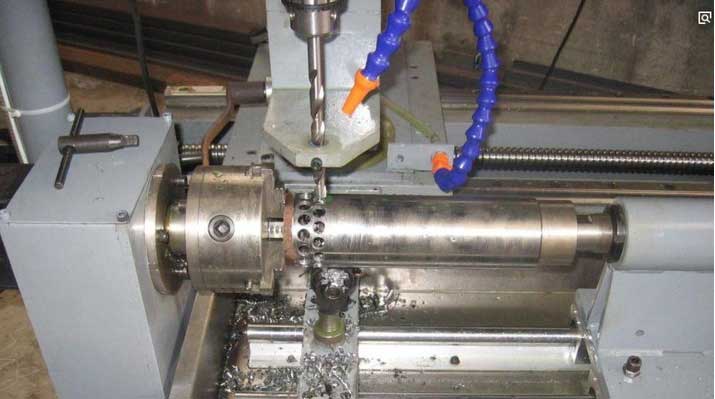
In general, drilling refers to a processing method in which a drill is used to machine holes on the product surface. Generally speaking, when drilling a product on a drilling machine, the drilling should perform two movements simultaneously:
- Main motion, that is, the rotary motion of the drill bit around the axis (cutting motion);
- Secondary movement, that is, the linear movement (feed movement) of the drill bit against the workpiece along the axis direction.
When drilling, due to the defects in the drill bit structure, it will leave traces on the processed parts of the product, which will affect the processing quality of the workpiece, and the processing accuracy is generally below IT10 level, and the surface roughness is about Ra12.5μm, which belongs to the rough machining category.
How to Correctly Carry out the Drilling Operation Process?
- Line drawing
Before CNC drilling, you must first understand the requirements of the pattern. According to the basic standard requirements of drilling, use the line drawing tool to draw the center line of the hole. The center line must be clear and accurate, the thinner the better. After drawing the line, measure with a vernier caliper or steel ruler.
- Draw inspection squares or inspection circles
After passing the line inspection, the inspection squares or inspection circles with the center line of the hole as the symmetrical center should be drawn as the inspection line during test drilling, so check and correct the drilling direction.
- Proofing and punching
After drawing the corresponding calibration square or calibration circle, proofing and punching should be done carefully. First hit a small point, and test several times in different directions of the cross center line to see if the punching eye is indeed hit at the intersection of the cross center line.
- Clamping materials and components
Clean the machine table, fixture surface, and workpiece datum surface with a rag, and then clamp the workpiece. The clamping is smooth and firm as required, and it is easy to query and measure at any time. It is necessary to pay attention to the clamping method of the workpiece to prevent the workpiece from being deformed by clamping.
- Test drilling
Before the actual drilling, you must first test the drilling: the chisel edge of the drill bit is aligned with the center of the hole to drill a shallow pit, and then visually check whether the position of the shallow pit is correct, and then continuously correct the deviation, so that the shallow pit is the same as the inspection circle. axis. If the deviation is small, force the workpiece in the correct direction while starting to drill.
- Drilling
The machine drilling is generally operated by manual feeding. When the orientation accuracy of the test drilling is required, the drilling can be carried out. During manual feeding, the feeding force should not bend the drill bit to avoid skewing the hole axis.
Methods to Improve Drilling Accuracy
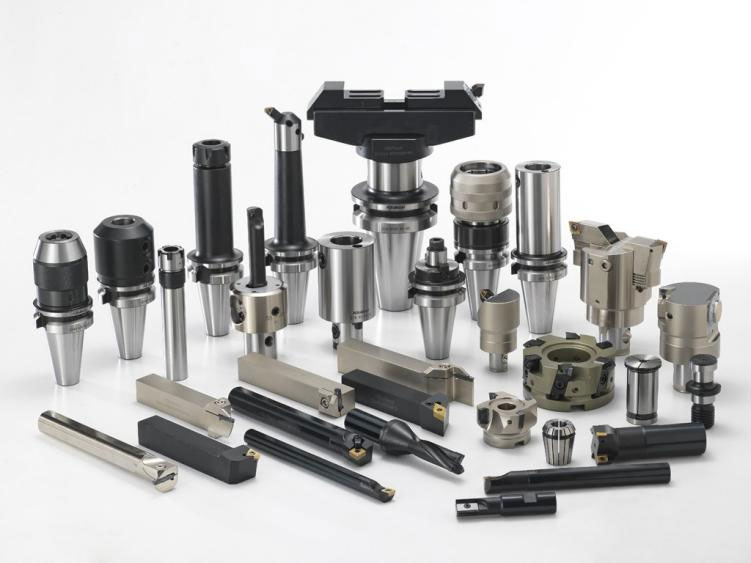
1. Grinding CNC Drills
Before CNC drilling, the corresponding drill should be selected for sharpening. In addition to maintaining the correct apex angle, clearance angle, and transverse bevel angle of the sharpened drill, the length of the two main cutting edges is flush and symmetrical with the center line of the drill, and the two main flanks are smooth, which is convenient for centering and lowering the hole. wall roughness. , and the chisel and main cutting edge should be properly ground (preferably rough on a grinder, then fine on a whetstone).
2. Draw lines accurately
Before CNC drilling, use the height gauge to accurately mark the line. The first thing is to ensure that the standard is accurate. When marking, make an angle of 40-60 degrees (along the marking direction) between the scribing needle angle and the workpiece scribing plane (along the scribing direction). The lines drawn are clear and even. Pay attention to the selection of the scribed datum surface, the datum surface should be processed accurately, and the flatness of itself and the perpendicularity to the adjacent surface should be guaranteed. After the cross line of the hole, the position is drawn, to ensure that it is easy to align when drilling, use the center punch to punch out the center point on the cross line (requires that the punch point should be small and the orientation should be accurate).
3. Make sure the material is clamped correctly without shaking
Under normal circumstances, for holes with a diameter less than 6mm, if the accuracy is not high, the workpiece can be clamped with hand pliers for drilling; for holes of 6-10mm, if the workpiece is regular and flat, it can be clamped with flat-nose pliers, but the workpiece should be clamped. The surface is perpendicular to the spindle of the drill press. Please join Qun 726236503 to learn more about CNC knowledge. When drilling a hole with a larger diameter, the pliers must be fixed with a bolt pressing plate; for large workpieces with a hole diameter of more than 10mm, the method of clamping the pressing plate is used for drilling.
4. After the CNC punching of the part is completed, check again to confirm its status
The detection can accurately and timely find the accuracy of the hole so that necessary measures can be taken to compensate. For holes with high drilling accuracy, we generally use the processing technology of drilling, reaming, and reaming.
After drilling the small hole in the first step, use a caliper to detect the wrong offset from the center of the bottom hole to the reference plane, and convert the position between the bottom hole and the ideal center after the actual measurement. Properly increase the top angle of the drill bit, weaken the automatic centering effect, push the workpiece in the positive direction, and gradually increase the diameter of the drill tip to compensate. If the error is greater than 0.10mm, the side walls of the bottom hole can be trimmed with an assorted round file, and the trimmed part should be connected to the arc of the bottom hole with a smooth transition.