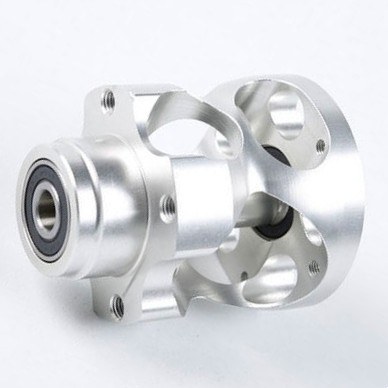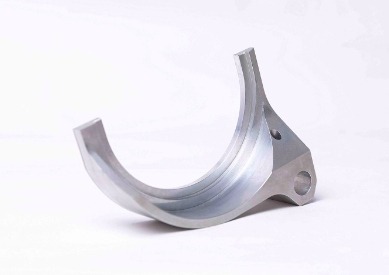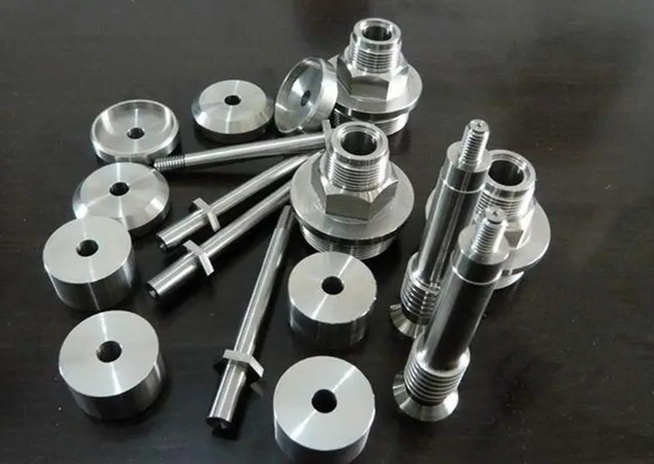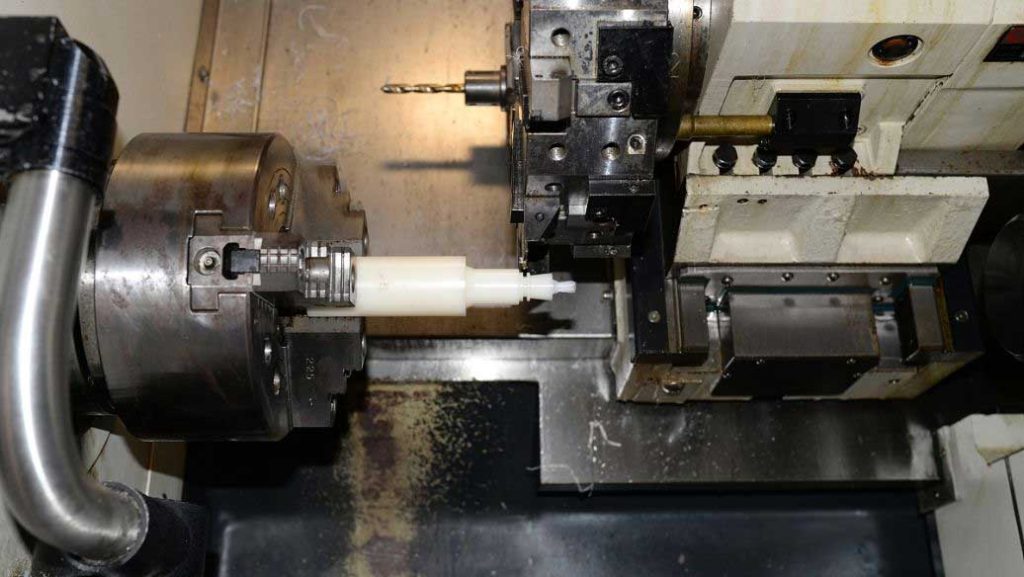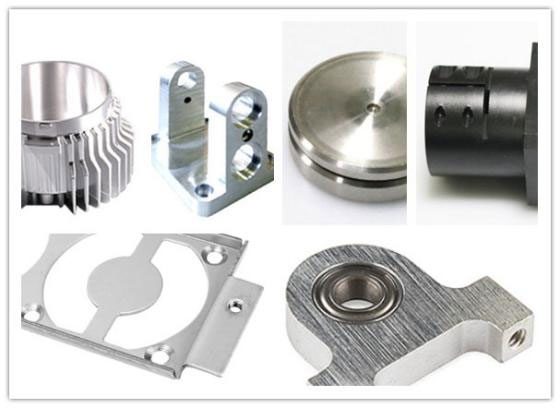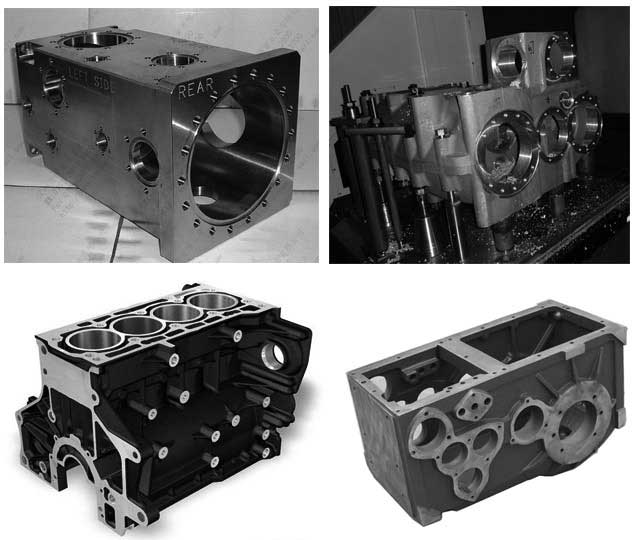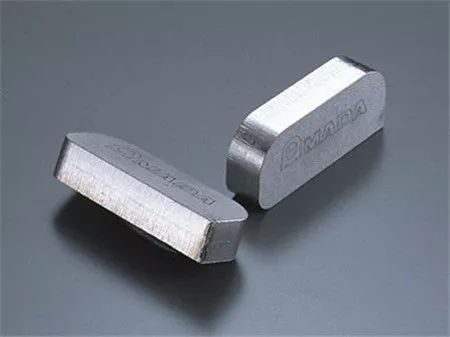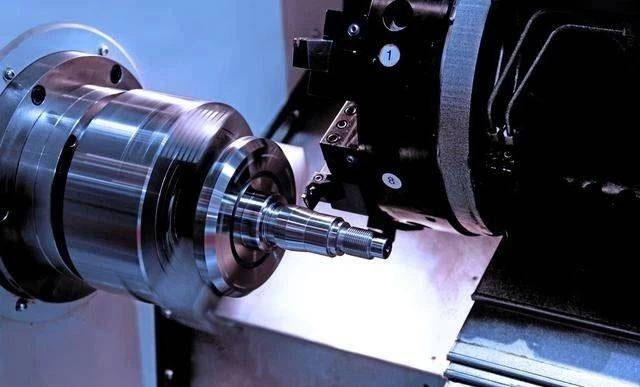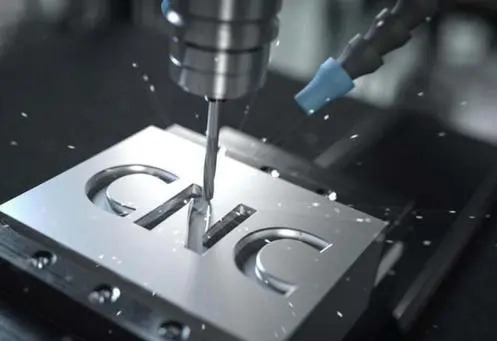


A freshly machined part appears neat, precise and ready to send. But run your finger along an edge and you may feel something that the machine left behind: a burr. These little bumps of material are one of the most common byproducts of CNC machining and can be found on just about every part to some degree.
This article covers why CNC machining burrs form, why the deburring process matters, which methods work best for different types of parts, and how to reduce burr formation before it becomes a problem.
Why Do Burrs Form During CNC Machining?
Burrs are not a sign of poor craftsmanship. These are a natural consequence of the way in which material is removed. The forces created when a cutting tool moves through a workpiece don’t always lead to a perfect clean break. The cutting force reduces rapidly when the tool is exiting the material and the remaining material at the edge tends to bend sideways or upwards instead of fracturing cleanly. That misshapen stuff is the burr.
Tool exit geometry, cutting direction, and toolpath strategy all influence where burrs form and how large they become. Milling pockets, drilling through-holes and profiling external features each have their own burr formation patterns and expert machinists design around them where feasible.
The behavior of the material is also very important. Aluminum and copper are soft, ductile metals and they tend to develop larger burrs that are harder to remove since they deform rather than fracture easily. Tougher burrs that are more difficult to remove are generally produced from harder materials like stainless steel and titanium, but burr size is also a function of cutting conditions and tool geometry. The plastics form thin, wispy burrs that can wrap over edges. No material is completely immune.
Why Deburring Is Important?
Burrs are often viewed as a cosmetic concern, but in reality they generate substantial problems in numerous dimensions of part quality. Here is what is really at stake:
- Assembly quality: Burrs prohibit good fit. When putting together, two parts may not sit correctly because of a little raised edge around the hole or on the surface that mates with the other part, which can cause gaps or misalignment or failed tolerances.
- Operator safety: CNC machined components have sharp edges and therefore pose a danger of cuts during handling, inspection and assembly, particularly in workplaces where workers touch many parts during the day.
- Surface finishing: Burrs cause poor adhesion and defects in coatings, anodizing and paint. This leads to lifting at the edges and a reduction in the overall quality of the finished surface.
- Part performance: A burr at a stress concentration location such as the edge of a drilled hole or a sharp internal corner, can start a fracture under repeated loading. This is a big issue for structural and fatigue sensitive applications.
- Product appearance: A clean, consistent edge finish is an indication of quality. No matter how accurate the dimensions were kept, a section with ragged, uneven edges looks and feels incomplete.
| Burr Issue | Possible Impact | Why Deburring Matters |
| Sharp edges | Safety risks during handling | Improves operator safety |
| Poor edge quality | Difficult assembly and poor fit | Ensures smoother assembly |
| Burrs around holes | Fastener or thread interference | Improves functional accuracy |
| Surface imperfections | Reduced coating or anodizing quality | Creates a better finish |
| Stress concentration | Increased wear or crack initiation | Improves part reliability |
Which Deburring Process Works Best for Different CNC Parts?
There’s not a right method to do all pieces. The right deburring process depends on the material, geometry of the part, dimensional tolerances and production volume. Below is a practical overview:
- Manual deburring: Good for prototypes and low volume manufacturing. Technicians work along edges with hand tools, files and scrapers. It’s adaptable, accurate yet time intensive. This makes it unsuitable for high-volume production.
- Mechanical deburring: This includes brushing, tumbling, and abrasive belt finishing. These methods can deal with numerous parts simultaneously and are ideally suited for medium to high volume runs, especially for parts with simple exterior geometries for which continuous edge contact may be achieved.
- Thermal and electrochemical deburring: Better solutions when burrs are in internal channels, cross holes or other difficult-to-reach features. Internal passages, cross-drilled holes and other hard-to-reach features not amenable to conventional methods are often deburred with thermal energy machining or electrochemical deburring.
- Precision edge finishing: If you need homogenous, controlled edge geometry on high quality components, techniques such as abrasive flow machining or drag finishing are perfect for difficult surfaces. Widely utilized in aerospace, medical and semiconductors applications.
How to Reduce Burr Formation During CNC Machining?
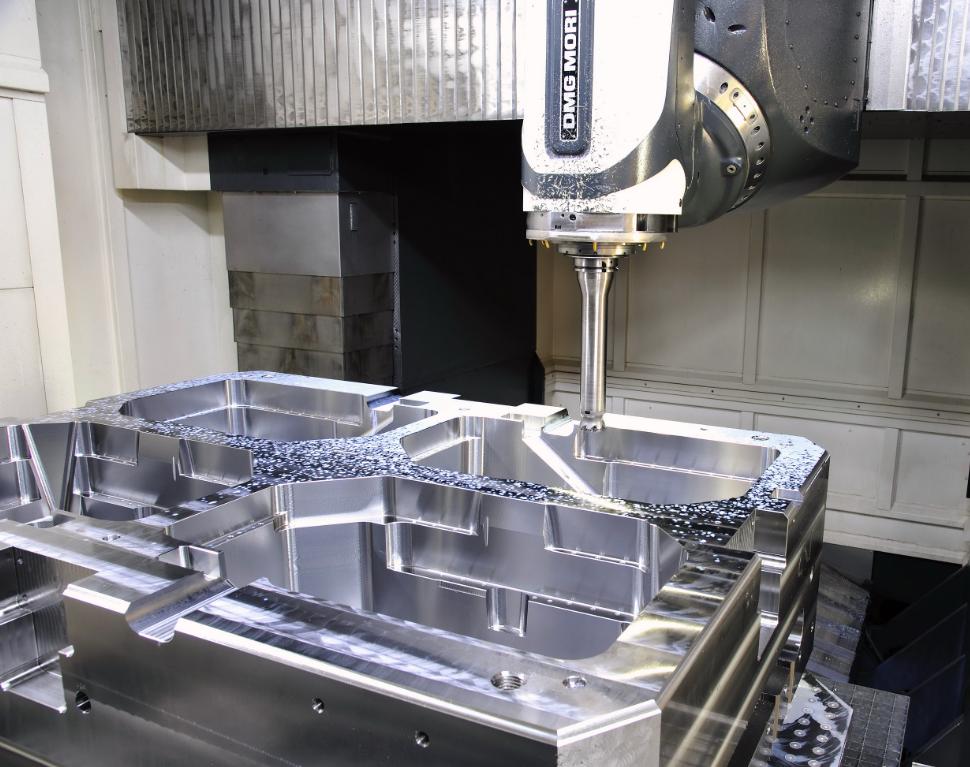
Good machine practice can greatly reduce the quantity of burrs generated in the first place, therefore reducing the time and expense of post-processing.
Choose the right cutting tools. Properly coated and sharp tools are used to create clean edges with little material distortion. A worn tool drags rather than cuts cleanly and that mechanical dragging is one of the most consistent causes of excessive burr formation.
Optimize the cutting parameters. The feed rate, cutting speed and depth of cut affect the material behavior in the cutting zone. Improper cutting parameters can lead to larger burrs. Optimized settings can reduce edge deformation while keeping the cycle duration.
Match machining strategy to part geometry. Exit direction and tool route are important. In many applications, optimizing toolpath and using climb milling where appropriate can help reduce burr formation, depending on the material and edge being machined. If the tool exit direction is planned to land on a non-critical surface, the cleanup time can be reduced further.
Select suitable materials when possible. Pick materials that machine cleaner and you can save yourself a lot of time in post processing, if you have some leeway in the material.
Monitor tool wear. One of the simplest ways to ensure predictable and managed burr formation throughout any production run is to replace the cutting tools before they degrade too much.
What Deburring Requirements Should You Specify?
Simply stating “remove burrs” on a drawing isn’t sufficient. The directive is ambiguous and can lead to inconsistent edge finishing, causing over-deburred parts to lose dimensional accuracy or under-deburred parts to still cause downstream issues.
A more useful approach is to define the acceptable edge condition. This might mean specifying a maximum edge break radius, referencing a surface texture value for the edge, or using a notation standard such as ISO 13715, which provides a standardized way to indicate edge conditions on technical drawings.
It also helps to separate functional requirements from cosmetic ones. A sealing surface with a burr around a fastener hole has a genuine performance issue. A non-contact surface on the back of a bracket may not require the same standard. Being clear about which edges matter and why lets the manufacturer allocate effort and cost appropriately.
Different industries require different edge quality standards. For example, a medical element might require a much finer edge finish than a typical industrial bracket. By discussing these expectations early, preferably at the design review or DFM stage, you can avoid surprises at final inspection and keep projects on schedule.
Better Parts Start with Better Deburring
Deburring is one of those things you forget about until something goes wrong. Whether it’s an assembly that won’t seat, a coating that peels at the edges, or a handling injury during incoming inspection, the cost of poor edge finishing almost always exceeds the cost of doing it right the first time.
At JTR Machine, CNC deburring and edge finishing are built into our standard workflow across all part types and materials. If you are looking for a manufacturing partner who takes these details seriously, contact our team for a free quote and DFM review.