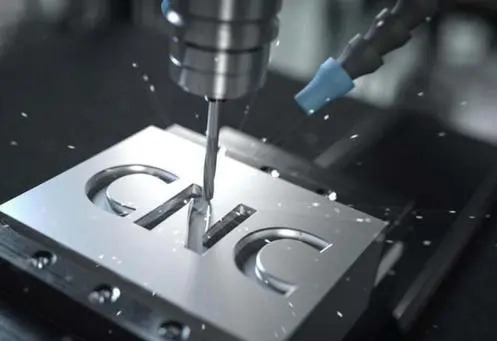


You just did a cutting run, picked up a part and felt it right away. That jagged, rough edge on the bottom. At first glance, laser cut burrs may appear to be a little issue, but they can soon turn into a major headache: rejected parts, additional finishing operations and unforeseen production delays.
Laser cutting is one of the most used technologies for metal fabrication. It can create very clean edges but burrs are one of the most prevalent quality issues cited throughout the industry. The good news is they’re virtually always attributable to something that can be rectified.
This guide explains what laser cutting burrs are, why they form, how to prevent them, and how to remove them when they occur.
What Are Laser Cutting Burrs?
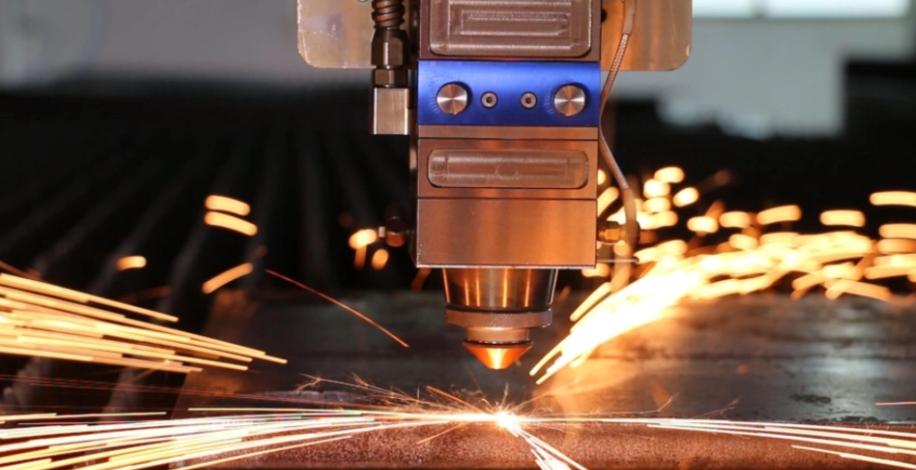
A laser cutting burr is a thin strip or fin of resolidified metal left on the bottom edge of a cut part. It is created when molten material is not completely blown out of the cut zone during processing, but instead solidifies along the edge when the item cools. Burrs differ slightly from dross. Burrs are thin raised edges, while dross generally refers to larger accumulations of resolidified molten metal attached to the cut edge.
Even small burrs create real downstream consequences:
- Downstream assembly difficulties: Burrs interfere with mating parts seating properly resulting in gaps or misalignments that may not be discovered until final assembly.
- Reduced welding and coating quality: Burrs can interfere with surface contact, resulting in inadequate weld penetration or uneven adhesion of paint and powder coatings.
- Added deburring costs: Whether done manually or mechanically, deburring takes time and labor. Across a production run, those costs add up fast.
- Safety risks: Sharp metal edges pose a real danger to anyone handling parts without gloves, especially in high volume areas.
Why Does Laser Cutting Produce Burrs?
Burrs rarely come from a single cause. More often, they result from a combination of factors across your cutting parameters, equipment condition, and material. Here are the five areas worth looking at first.
1. Incorrect Laser Power or Cutting Speed
One of the most direct ways to affect laser cutting edge quality is to balance the energy correctly. When the power is too low, the laser is not able to melt the material entirely, and the partially melted metal tends to congregate and harden at the bottom edge. Too much power produces extra heat that can cause the melt to splash and reconnect as burrs.
Speed is just as important: cutting too fast doesn’t allow enough time for the melt to be expelled cleanly, while cutting too slowly can lead to overheating and irregular melting behavior. Finding the right power-speed combination for each material type and thickness is often the first step in laser cut quality troubleshooting.
2. Improper Assist Gas Settings
Assist gas is responsible for physically blowing molten material out of the kerf. If the gas pressure is too low, the molten material is not expelled efficiently and solidifies at the edge. Too much pressure can cause turbulence around the nozzle and possibly impair the cut.
The gas type is important as well. Oxygen allows for faster cut rates on mild steel but will produce oxidized edges. Nitrogen can provide cleaner, burr-free edges on stainless steel and aluminum but requires higher pressure and purity. A dirty or unstable gas supply, such as moisture in the line or pressure variations, can affect cut quality in ways that can be hard to trace back to the source.
3. Nozzle Condition and Focus Position
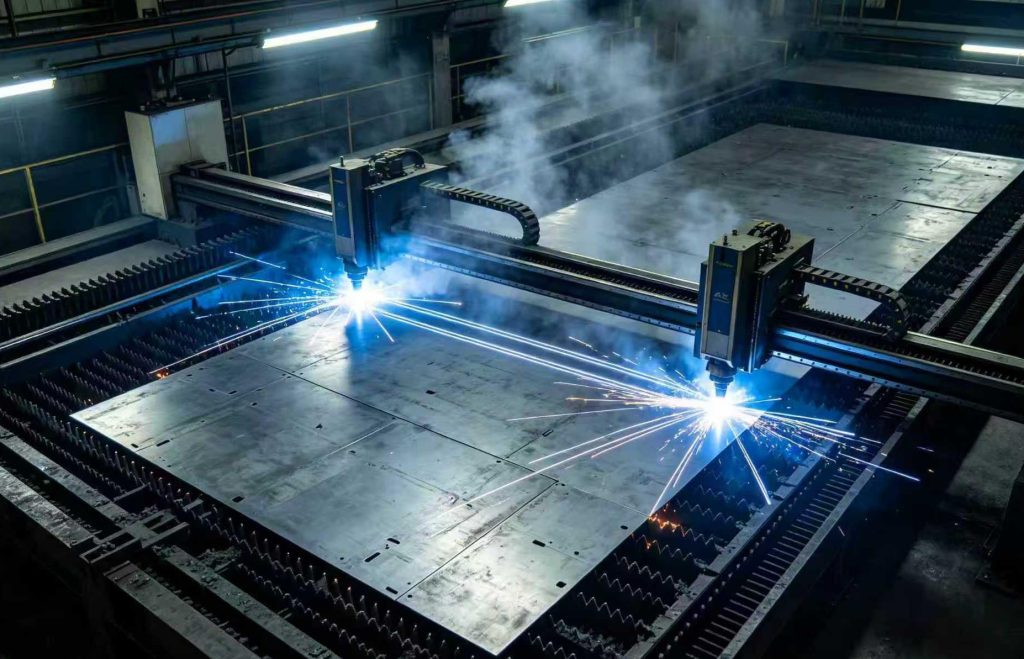
A worn or damaged nozzle changes how gas flows around the cut zone. Even minor nozzle deformation can create an asymmetric gas stream that consistently produces burrs on one side of the part.
Height above the material is another variable: too close and gas circulation is restricted; too far and the assist gas loses effectiveness before it reaches the kerf. Focus position is equally important. When the focal point shifts away from the optimal position, whether from thermal expansion, mechanical drift, or worn optical mounts, energy density at the cut zone decreases, and edge consistency suffers as a result.
4. Material Condition and Thickness
Material condition is frequently neglected in laser cutting troubleshooting. Surface corrosion, residual lubricants, and existing coatings can all influence how well the material absorbs laser energy, typically resulting in inconsistent cuts and localized burr formation.
Sheet flatness is also important: warped material changes the distance between the nozzle and workpiece stand-off at different locations throughout the sheet, affecting focus and gas flow. Similarly, cutting right up to the top of a machine’s thickness range also diminishes tolerance for variation—minor fluctuations in any parameter become far more likely to cause problems.
5. Machine Wear and Maintenance Issues
Dirty optics reduce beam transmission and lower energy density at the cutting point, resulting in poorer cut quality. Any misalignment of the beam path will also cause degradation of the edge quality. Optical consumables degrade over time during normal operation, so quality issues with them tend to develop slowly enough to be missed until you see burrs across a production run consistently.
The table below gives a quick-reference overview of common causes and where to look first:
| Cause | Typical Burr Appearance | What to Check First |
| Incorrect cutting speed | Continuous burrs along entire edge | Speed settings |
| Improper laser power | Rough, uneven edge | Power parameters |
| Low assist gas pressure | Heavy slag and burrs | Gas pressure and purity |
| Worn nozzle | Burrs on one side only | Nozzle condition |
| Wrong focus position | Inconsistent edge quality | Focus calibration |
| Poor material condition | Random burr formation | Material surface and flatness |
How to Prevent Burrs Before They Become a Production Problem?
Most burr issues are preventable. The key is building consistent habits into your process rather than reacting to problems after they appear.
Select your cutting settings according to the material and thickness you are working with and not some standard presets. Keep optics, nozzles, and gas systems clean on a regular schedule. Instead of waiting for cut quality to deteriorate, inspect consumables prior to failure.
Use clean, flat, suitable material for laser cutting. Reject sheets showing apparent corrosion, contamination or distortion before they reach the machine. Before going into full production, always verify a new cutting program on a sample part.
Each of these practices takes little time on its own, but they make a significant difference in how consistently your parts come off the machine:
| Practice | Benefit |
| Regular nozzle replacement | More stable gas flow |
| Routine focus calibration | Consistent edge quality |
| Clean optical components | Stable laser energy output |
| Proper gas selection | Cleaner cuts with fewer burrs |
| Material inspection before cutting | Reduces unexpected defects |
| Scheduled machine maintenance | Improves long-term cutting consistency |
What If the Burr Is Already There?
Sometimes burrs appear even when your setup looks correct. When that happens, the response covers two things: dealing with the existing parts and finding out what caused the problem.
Remove the Burr Properly
The right method depends on your batch size and finish requirements:
- Manual deburring: Best for small batches or parts with complex geometry. A hand file or deburring tool gives precise control, though it’s labor-intensive at scale.
- Mechanical grinding or sanding: Faster than manual methods and effective on flat or simple profiles. Belt sanders and bench grinders handle most common cases.
- Vibratory or tumbling deburring: Well-suited to large quantities of small or medium parts. Parts are processed in bulk in a media-filled drum, which produces consistent results without manual handling.
- Other finishing methods: For items with close tolerances, internal features or particular surface needs, electrochemical deburring or thermal energy deburring may be worth exploring.
Identify and Correct the Root Cause
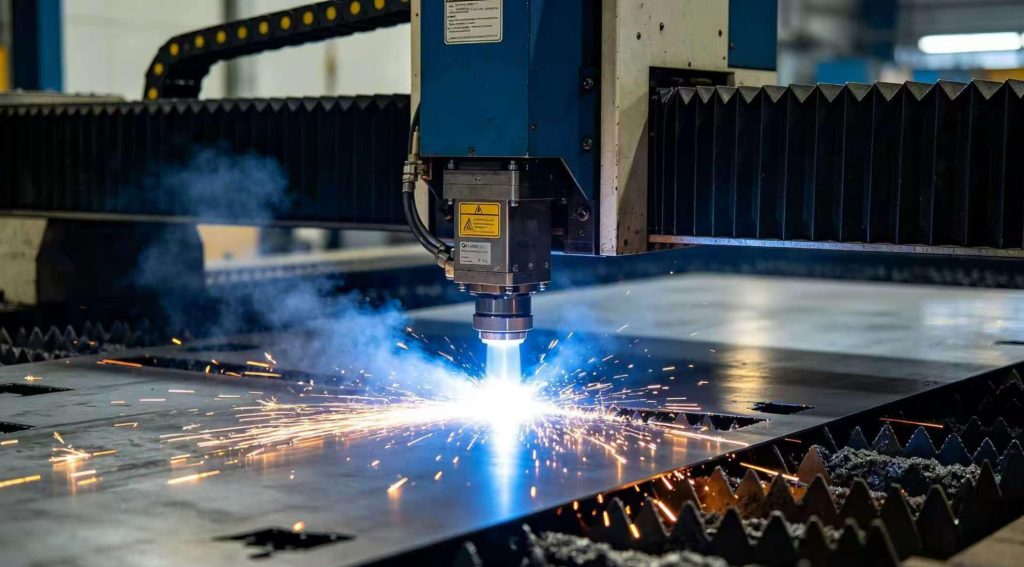
Deburring without addressing what caused the problem means burrs will keep coming back. After the parts are cleaned up, work through the following:
- Recheck cutting parameters: Compare your actual settings against the recommended values for the material and thickness being cut.
- Inspect gas pressure and nozzle condition: Look for wear, damage, or inconsistency in pressure that may have contributed to the issue.
- Verify focus position and machine calibration: Run a focus test to confirm the beam is positioned where it should be.
- Test with a sample part: Before resuming full production, cut a test piece and examine the edge quality carefully before committing the rest of the material.
Final Thoughts
Laser cutting burrs happen a lot , but it’s not really something you should just live with as part of the process. Most of the time, burrs are more like a signal , an indicator of an underlying issue that can be corrected by adjusting the cutting parameters, cleaning the optics, swapping out worn consumables, or improving the material quality. Instead of randomly trying things, go step by step through the possible causes, and you’ll usually get the laser cutting result back in line.
At JTR Machine, laser cutting is one of the full sheet metal manufacturing process encompassing shape, bending and surface finishing, under one roof with quality control at every step. Our team is here to help you from small batches of precision laser cut parts to continuing production runs. Contact us for a free quote.