Choosing between CNC milling and CNC turning for a small component isn’t just about machine capabilities—it directly affects your cost, lead time, and part quality.
When parts get tiny, the rules change. A design that looks simple on screen might become unexpectedly expensive if the process doesn’t match its geometry. And with cnc machining small parts, even small decisions—like how the part is held or where the tool enters—can make or break a production run.
Here, we’ll walk you through how milling and turning actually perform on small-scale parts, give you a simple step-by-step method to choose the right process, and share practical design tips to keep your project on budget.
Let’s start with the basics, but with a focus on what matters when parts get small.
Overview Milling vs. Turning in the Small Parts
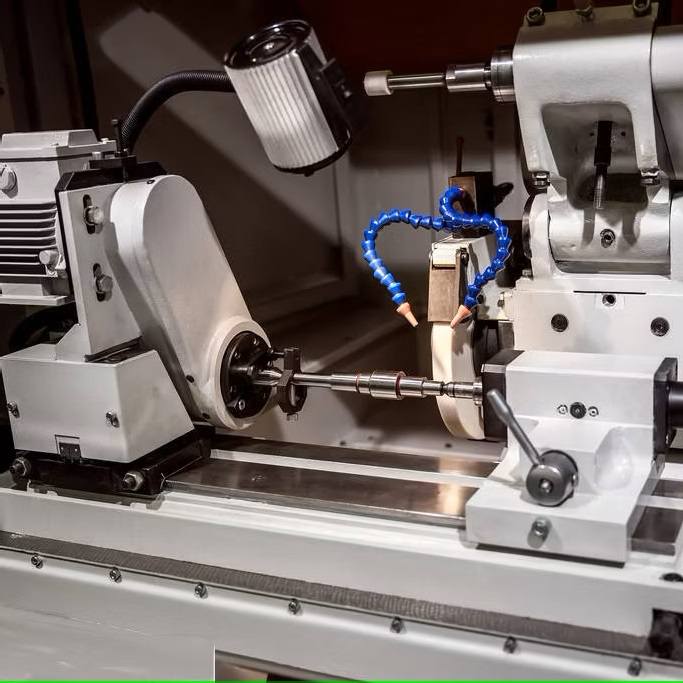
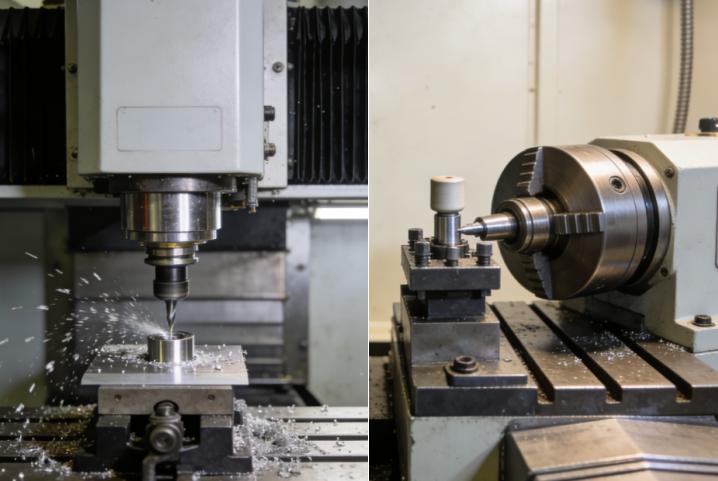
When working with small components, the differences between milling and turning go beyond “rotating tool vs. rotating workpiece.” Here’s how they actually compare on the shop floor:
| Aspect | CNC Turning | CNC Milling |
| How It Works | The part spins, a cutting tool removes material | The tool spins, the part remains stationary (or moves on multi-axis machines) |
| Best For | Cylindrical parts, round profiles, concentric features | Prismatic parts, flat surfaces, complex contours, pockets, non-round shapes |
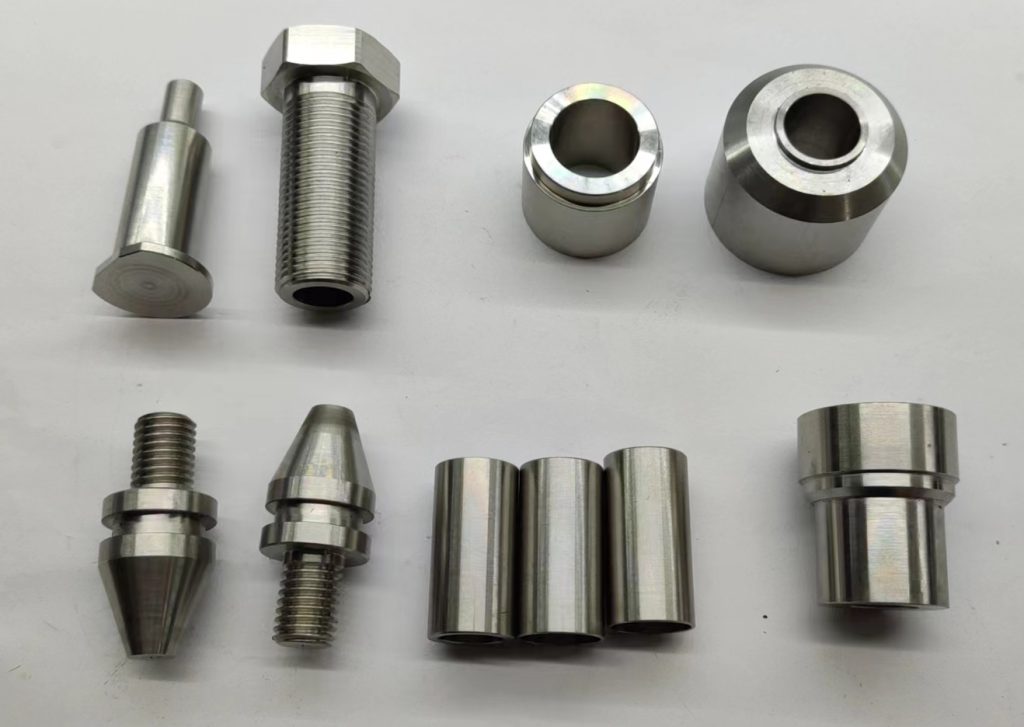
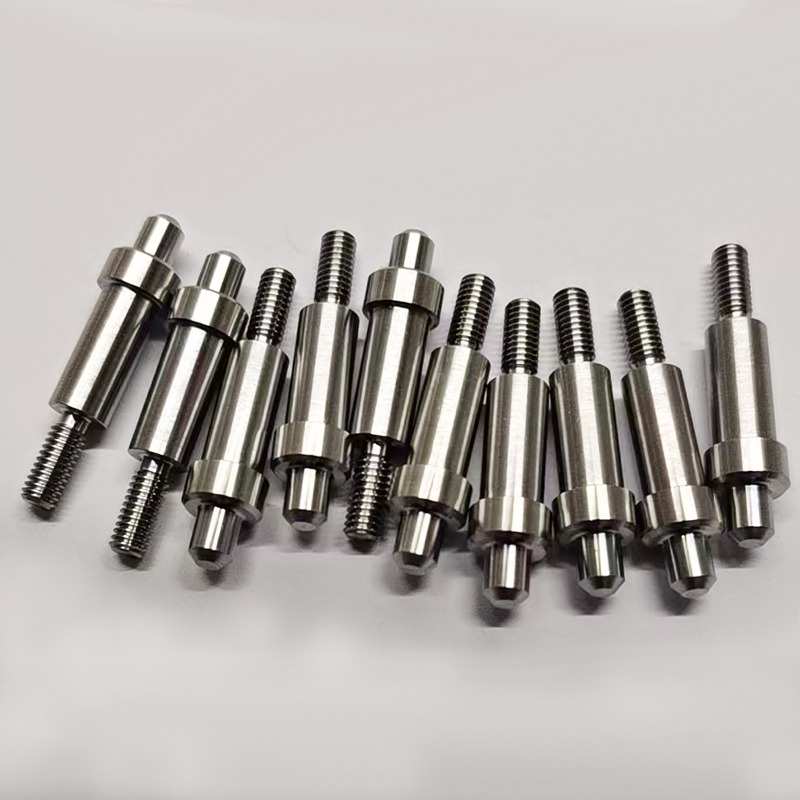
| Typical Small Part Applications | Shafts, pins, connectors, valve cores, threaded studs, bushings, fittings | Housings, brackets, enclosures, heat sinks, custom plates, complex manifolds |
| Workholding | Collet or chuck grips the part; bar feeders enable continuous production | Vise, fixture, or custom clamping; often requires more complex setups for tiny parts |
| Typical Tolerances | ±0.005 mm achievable on diameters; excellent roundness and concentricity | ±0.01 mm achievable on positions and features; excels at hole-to-hole accuracy |
| Surface Finish | Smooth, consistent circular tool marks; ideal for sealing or bearing surfaces | Tool marks follow tool path; high-speed machining can achieve mirror finishes on flat surfaces |
| Production Efficiency | High for volumes above 500 pcs; Swiss-type machines run unattended for hours | Flexible for low volumes; setup time varies based on part complexity |
In short, turning is your go-to for anything round—especially when volumes are high and consistency across thousands of parts matters. Milling gives you freedom to create complex shapes and precise positional features, making it the right choice for parts that don’t fit a round profile. For many small components, the real answer lies somewhere in between: turn-mill machines combine both processes in one setup, giving you the best of both worlds.
Key Factors to Consider for Your Small Part Design
When evaluating your design, three technical factors will strongly influence whether milling or turning is the better path.
1. Part Geometry and Symmetry
This is usually the first filter. Ask yourself: does my part have a rotational axis?
If your component is essentially a cylinder with features like grooves, threads, or a chamfered end, turning is the natural fit. Parts that are perfectly round or require high concentricity between different diameters are almost always more economical to turn.
If your part has non-round features—a square flange, an off-center hole, a complex pocket, or any flat surface that needs to be precisely positioned relative to another feature—milling becomes necessary. Sometimes, a part might start as a turned blank and then move to a mill for secondary operations.
2. Dimensional Accuracy and Tolerances
Both milling and turning can achieve high precision, but they excel in different areas.
Turning naturally produces excellent roundness and concentricity because the part rotates around its own axis. For small components with tight diametral tolerances—say, ±0.005 mm for a press-fit pin—turning on a high-quality lathe is hard to beat.
Milling offers outstanding positional accuracy. If you need a hole located exactly 0.01 mm from a machined edge, milling gives you that control. However, achieving very tight roundness in a milled bore is more challenging than in a turned one.
For cnc small aluminum parts or other materials where thermal expansion is a concern, the process choice also affects how easily you can maintain tolerances across a production run.

3. Surface Finish Requirements
Surface finish affects both function and aesthetics. Turning typically leaves a smooth, concentric finish with consistent tool marks that spiral around the part. For sealing surfaces or bearing journals, this can be ideal.
Milling leaves tool marks that follow the tool path. While high-speed milling can achieve mirror-like finishes on flat surfaces, corners and deeper features may show more visible tool marks unless additional finishing steps are applied.
If your design calls for a specific Ra (roughness average) value, your machinist will consider whether turning, milling, or a combination of both is most likely to hit that target efficiently.
How to Choose CNC Milling or CNC Turning for Small Components?
This section gives you a practical framework. Rather than guessing, follow these steps to narrow down your options.
Step 1: Look at Symmetry
Is your part rotationally symmetric? If it can be described as a round shape with features around its circumference—like a valve body or a threaded stud—start with turning. If it has non-round features, milling will be involved.
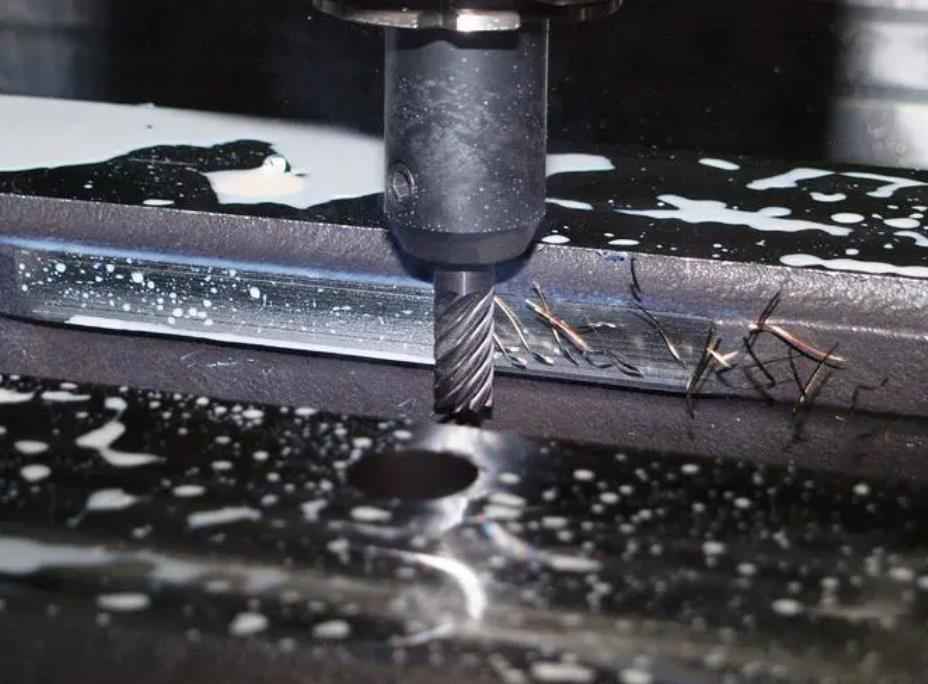
Step 2: Look at Complexity
Does your part require multiple operations on different sides? Some turned parts with cross-holes, flats, or slots can still be completed in one setup on a turn-mill center. But if the part has complex 3D contours, deep cavities, or undercuts, milling (or even multi-axis milling) becomes the primary process.
Step 3: Look at Size
For parts under 20 mm in diameter, Swiss-type turning (also called Swiss machining) offers unmatched efficiency. These machines combine turning and milling in one cycle, handling even complex geometries without requiring secondary setups. For parts that are primarily flat or box-like, milling is more appropriate regardless of size.
Step 4: Look at Volume
This is where economics come into play. For prototypes or low volumes (1–50 pieces), milling is often faster to set up. For medium to high volumes (500–10,000+ pieces), turning with automated bar feeding drastically reduces cycle time and cost per part. If your part requires both turning and milling, a turn-mill machine can eliminate secondary handling, which adds up significantly in larger quantities.
When to Use Turn-Mill Combination
In reality, many small components don’t fit neatly into “turning only” or “milling only.” Consider a small brass fitting with a hexagonal body, a through-hole, and a cross-drilled port. If you mill this from a solid block, you’ll remove most of the material and spend extra time on setup. If you turn it on a Swiss-type lathe with live tooling, the machine can feed the bar stock, turn the diameters, mill the hex flats, and drill the cross-hole in one continuous cycle.
Turn-mill combination is often the best answer for complex turning small parts that also need non-round features. This approach reduces handling errors, improves concentricity between features, and shortens lead times.
Case Study: Small Components in Action
Seeing real parts helps make the concepts concrete. Here are examples of components we’ve manufactured, showing how geometry and process intersect.
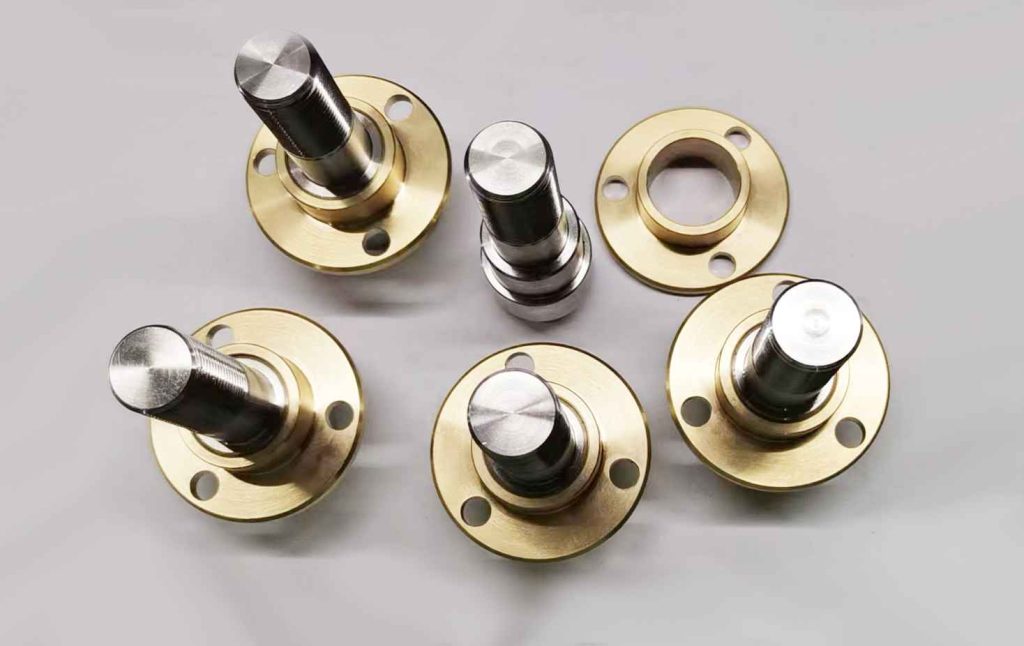
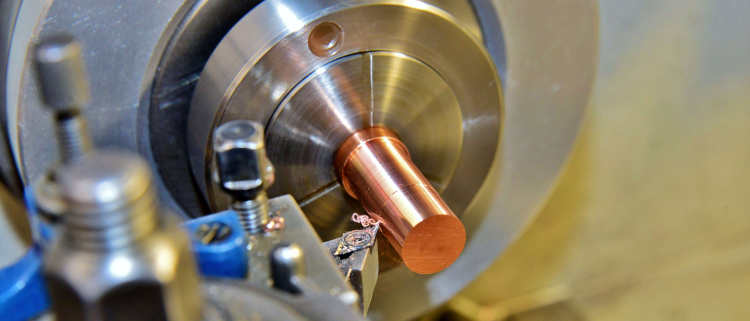
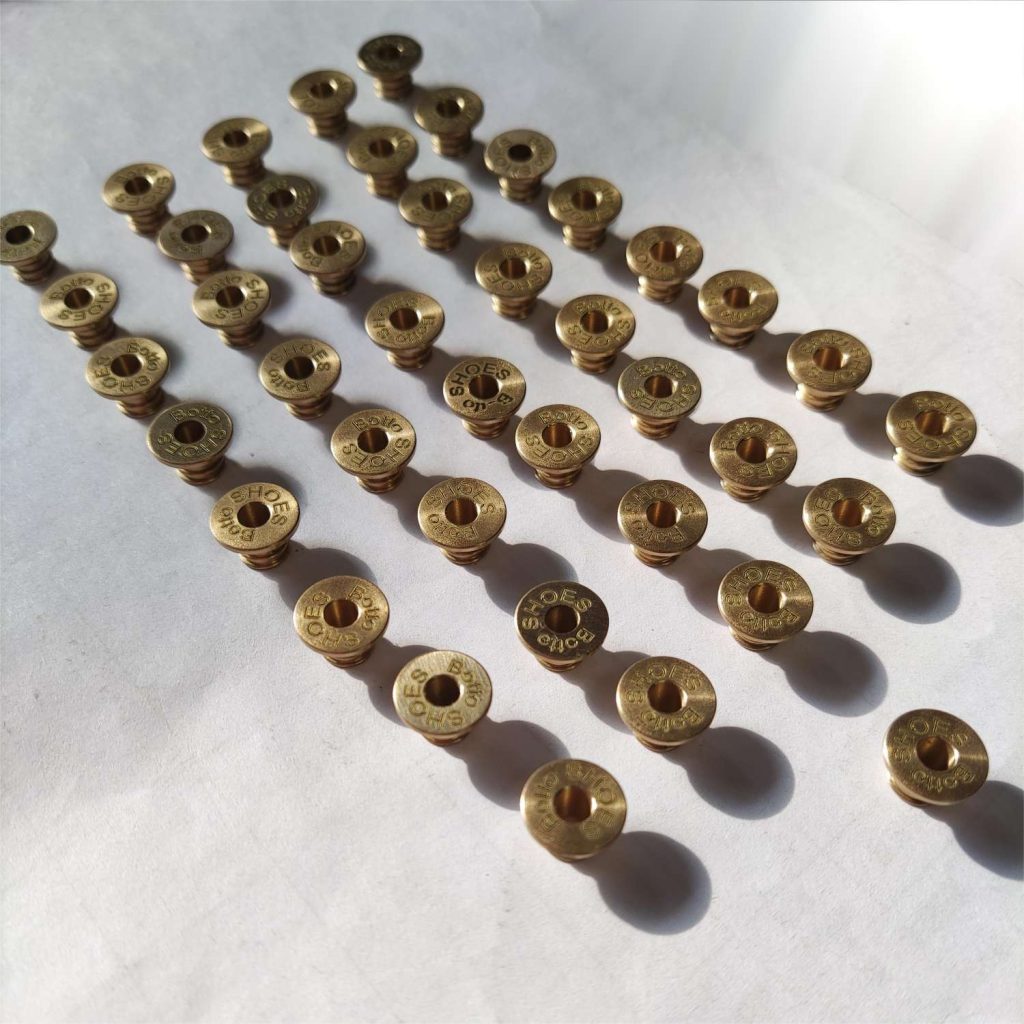
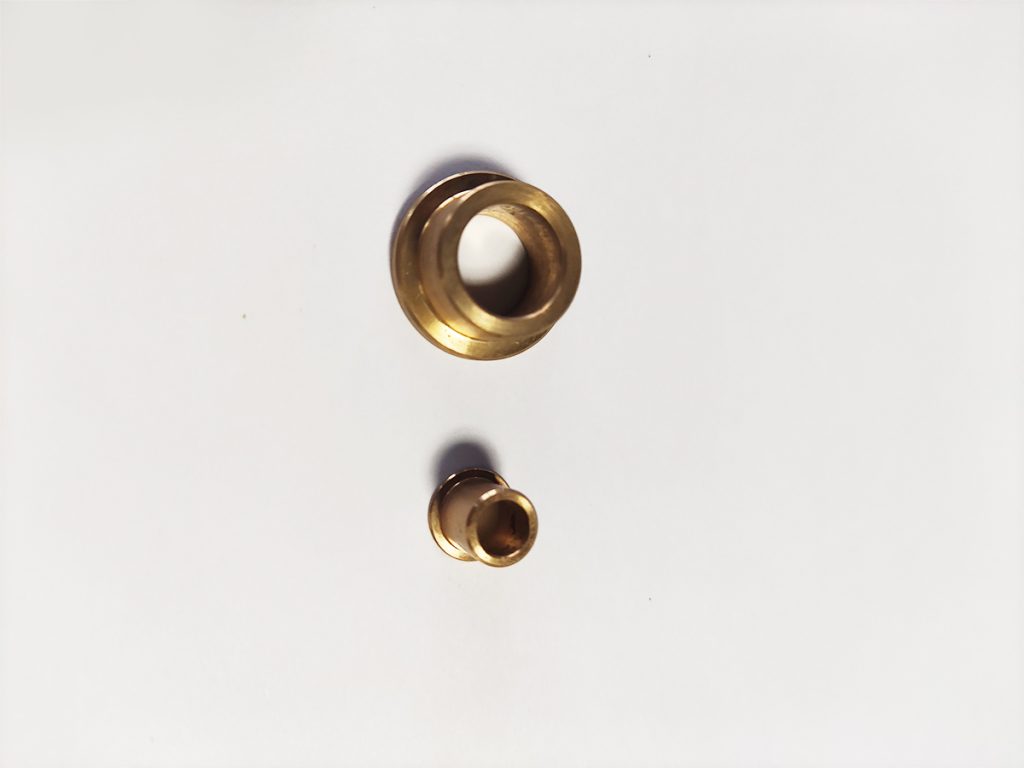
Precision Brass Turned Parts
Small brass components are ideal candidates for Swiss-type turning. The material machines easily, holds fine threads well, and produces a clean surface finish. For parts like connector pins or miniature valve seats, turning delivers consistent roundness across thousands of pieces.
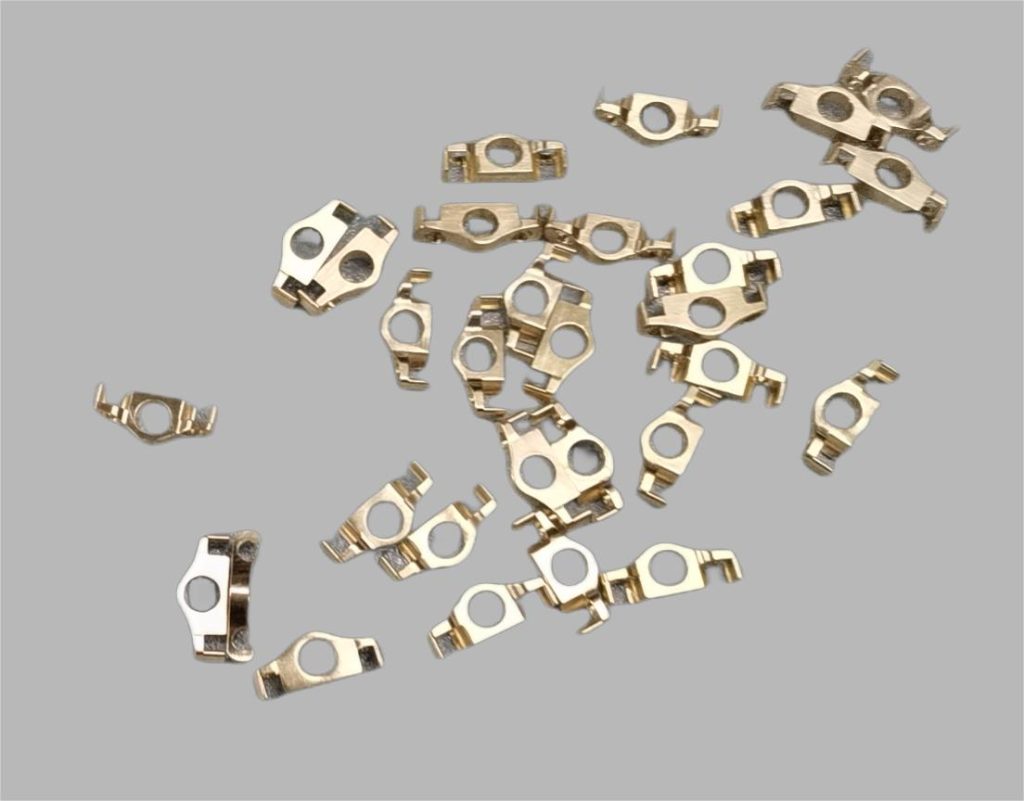
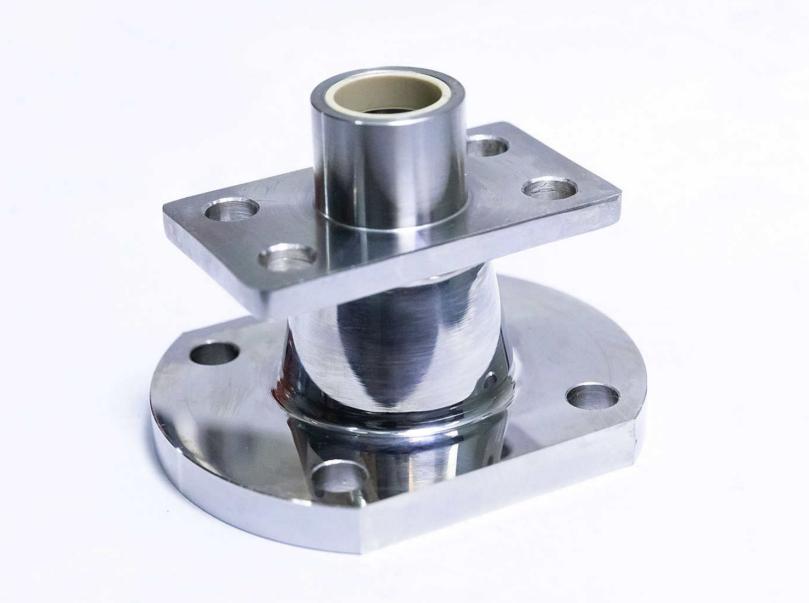
Custom CNC Machined Brass Parts
When a brass part includes both turned diameters and milled features—such as a flat for a set screw or a slot for alignment—turn-mill machines handle everything in one setup. This ensures that the milled flat is perfectly oriented relative to the turned diameter.

Precision Brass Turned Parts
Small brass components are ideal candidates for Swiss-type turning. The material machines easily, holds fine threads well, and produces a clean surface finish. For parts like connector pins or miniature valve seats, turning delivers consistent roundness across thousands of pieces.
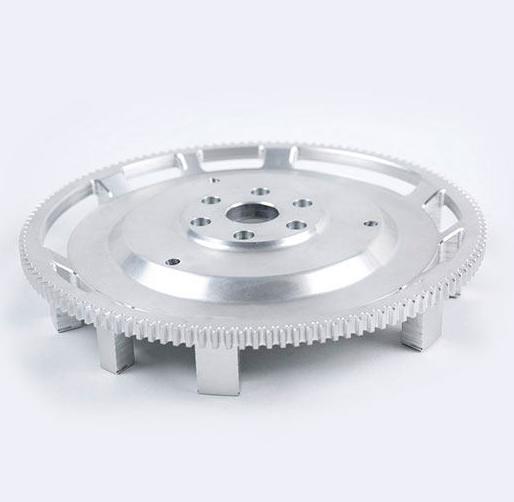
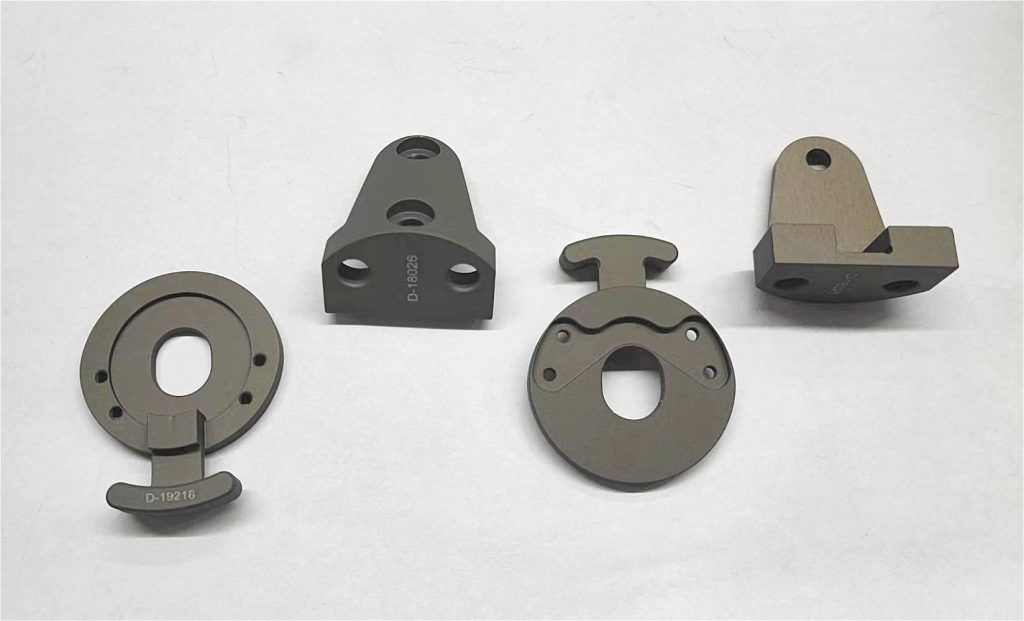
Hard Anodized Aluminum Lock Plate
This is a milling-focused example. The part is flat with precise holes, slots, and a hard anodized finish for wear resistance. Milling allows tight positional tolerances between features, and hard anodizing adds durability for mechanical assemblies.
Precision CNC Machining Brass Parts
Small brass components are ideal candidates for Swiss-type turning. The material machines easily, holds fine threads well, and produces a clean surface finish. For parts like connector pins or miniature valve seats, turning delivers consistent roundness across thousands of pieces.
For more case products, please refer to here.
Design Tips to Optimize Cost
Even with the right process, small details in your design can drive up manufacturing cost. Here are three practical tips to keep your project on budget.
Tip 1: Avoid Micro Deep Holes
Holes with a depth-to-diameter ratio greater than 10:1 require specialized tooling and slower machining cycles. If your design calls for a 0.5 mm hole that’s 8 mm deep, consider whether that hole can be replaced with a shallower feature or a different assembly method. When deep holes are unavoidable, expect longer cycle times and higher per-part costs.
Tip 2: Loosen Tolerances on Non-Critical Features
It’s tempting to put tight tolerances everywhere, but every ±0.005 mm dimension increases inspection time and potential scrap. For cnc small aluminum parts or other materials, identify which features truly need tight control—typically mating surfaces or critical bores—and specify standard tolerances elsewhere. This single change often reduces quoted prices by 10–20%.
Tip 3: Add Radii in Internal Corners
A square internal corner requires a specialized tool or electrical discharge machining, both of which add cost. Standard end mills leave a radius equal to their diameter. If you design a small radius—say 0.5 mm or 1 mm—in internal corners, the machinist can use a standard tool and avoid secondary operations. For parts where a sharp corner is truly needed, consider a relief undercut instead of a full square corner.
Making the Final Decision
By now, you have a clear framework: start with symmetry, evaluate complexity, consider size, and factor in volume. Most small components fall into one of three categories:
- Purely rotational parts → CNC turning (especially Swiss-type for diameters under 20 mm)
- Non-round parts with flat or box-like geometry → CNC milling
- Mixed geometry with both round and prismatic features → Turn-mill combination, often on a Swiss-type machine
The most important thing is to avoid forcing a part into the wrong process just because it’s familiar. A round part milled from a solid block will work, but it will cost more and take longer than if it were turned. Similarly, a complex housing with multiple sides can’t be efficiently made on a lathe alone.
When you’re ready to move forward, the best next step is to share your design with someone who can look at it through the lens of actual shop floor experience. At JTR Machine, we’ve spent years refining how we approach cnc small parts manufacturing—from material selection to final inspection.
Whether your part belongs on a Swiss lathe, a high-speed mill, or a combination of both, we’ll help you find the most reliable and cost-effective path.
Ready to turn your design into precision components? Contact us or upload your drawing for a free DFM review. We’ll walk you through the process options and give you a clear recommendation—no guesswork, just experience.