

A finished product may seem perfect on the exterior and still fail in the field. In many instances, the source of the problem isn’t a design mistake or a batch of substandard materials. In some cases, the problem starts during the mechanical assembly process—something small enough to go unnoticed, but significant enough to affect reliability.
This guide discusses five assembly details that are simple to overlook, yet have a meaningful effect on product reliability. If you are looking at your existing procedure or addressing a persistent issue, these areas are worth a serious look.
1. Fasteners Need the Right Amount of Torque
Torque control is one of those things that looks easy until something breaks. Tight is not always tight enough, and the fastener can be over-tightened to the point of damage by the time the assembly exits the line.
The purpose is not only to “tighten the bolt”. It’s about how much clamp load you need for that joint, and the correct technique for that sort of fastener. This is where many common mechanical assembly mistakes occur. Here’s a quick look at what can go wrong:
| Assembly Detail | What Can Go Wrong | Possible Reliability Effect |
| Under-tightening | Fastener loosens during operation | Vibration, movement, component separation |
| Over-tightening | Thread or part damage | Cracking, deformation, premature failure |
| Inconsistent torque | Uneven clamping force | Misalignment or unstable performance |
| Incorrect fastening method | Connection does not hold as intended | Rework or field failure |
Following the torque specifications in the drawing and applying the same approach each time across all fastener places, using a calibrated torque wrench, will go a long way in improving assembly quality.
2. Make Sure Parts Are Fully Seated
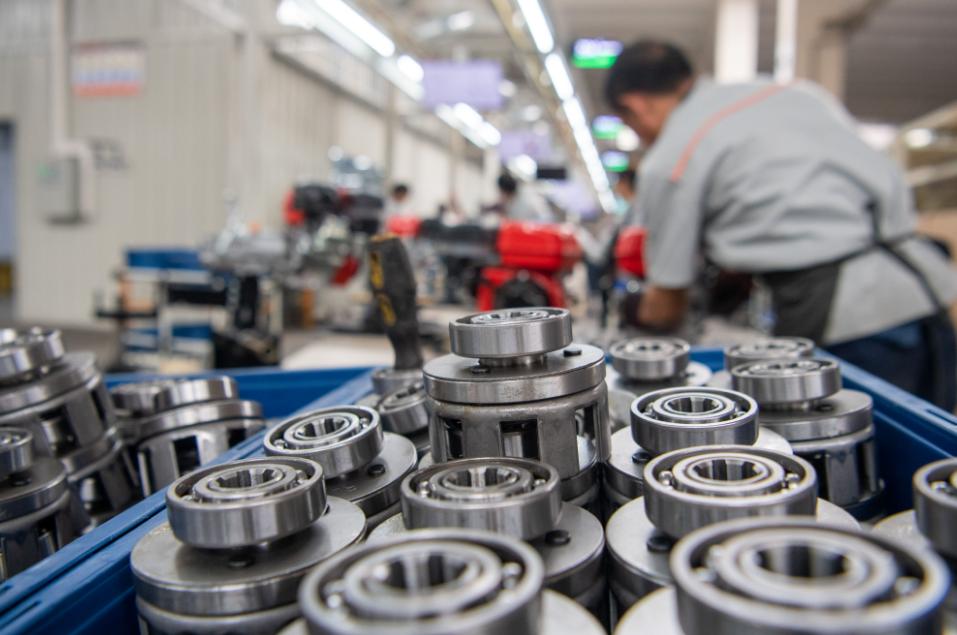
This one comes up more often than you’d expect. A press-fit component, a bearing, a bushing, or a shaft that appears to be in position but hasn’t actually bottomed out is one of the more deceptive problems in mechanical assembly.
“Not fully seated” isn’t just a tolerance issue. A part can be within dimensional spec and still not be installed correctly. And a tighter interference fit doesn’t automatically mean more reliable. For example, a bearing pressed in at an angle may appear secure initially, but can introduce uneven loading, leading to premature wear, noise, or failure.
A couple things to remember:
- Press-fit components: Use the correct tooling to apply force uniformly. Avoid striking parts directly with a hammer, as uneven force can tilt the component during installation.
- Bearings and bushings: Confirm the part has reached the correct depth, not just that it feels like it’s in place.
- Shaft-to-bore fits: Make sure the shaft enters the bore smoothly and remains properly aligned throughout the fit.
When you’re not sure, measure. A quick check with a depth gauge or go/no-go gauge is faster than handling a field return.
3. Keep Mating Surfaces Clean
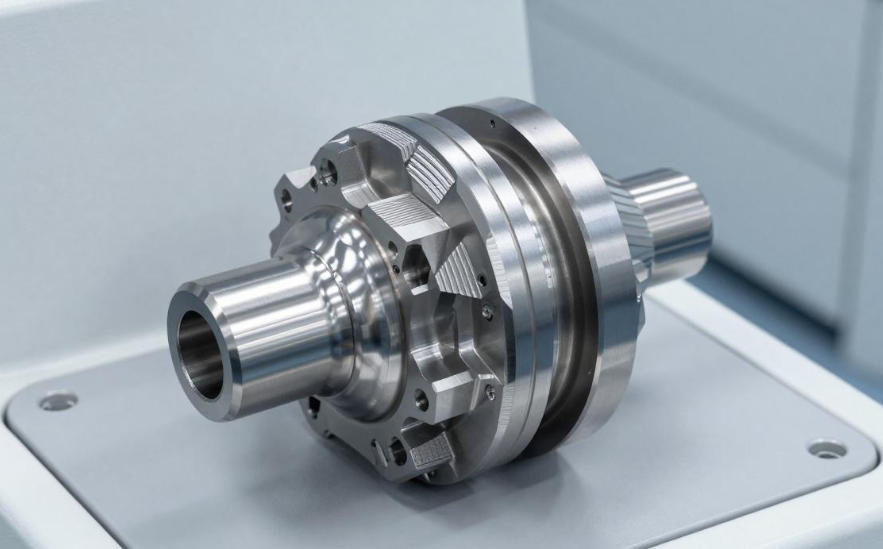
Poor assembly quality is one of the most neglected sources of surface contamination. Whatever the connection is, whether it’s a gasket joint, a precise fit or a bolted flange, any dirt, oil film or corrosion between the mating surfaces will have some effect on how well the connection operates.
During assembly, chips from machining, residue of cutting fluid, protective coatings not completely removed, even fingerprint oils can become trapped between surfaces . The consequence may be a leak path, or a joint that will not clamp evenly, or a fitting piece that sits just off.
The solution is simple in theory: clean the surfaces before assembly. Use the proper cleaning method for the material. Handle the pieces gently after they are clean. In fact, this step is often overlooked when time is tight, and it is precisely at such times that problems crop up later.
4. Check Alignment Before Tightening Fasteners
It’s easy to jump straight to tightening once parts are roughly in position. But locking things down before verifying alignment is a common mistake in the mechanical assembly process, and correcting it afterward is significantly harder.
Common examples include non-collinear shafts and bores, slightly cocked flanges, and housings that are not square to their mounting faces. And all of these produce conditions where fasteners will be loaded unevenly, seals won’t seat properly and moving parts will wear faster than they should.
The habit to build is simple: position, check, then tighten. Use a straightedge, indicator, or other appropriate tool to confirm alignment before committing. This adds a few minutes to the process and can prevent hours of rework.
5. Check the Finished Assembly, Not Just Its Appearance
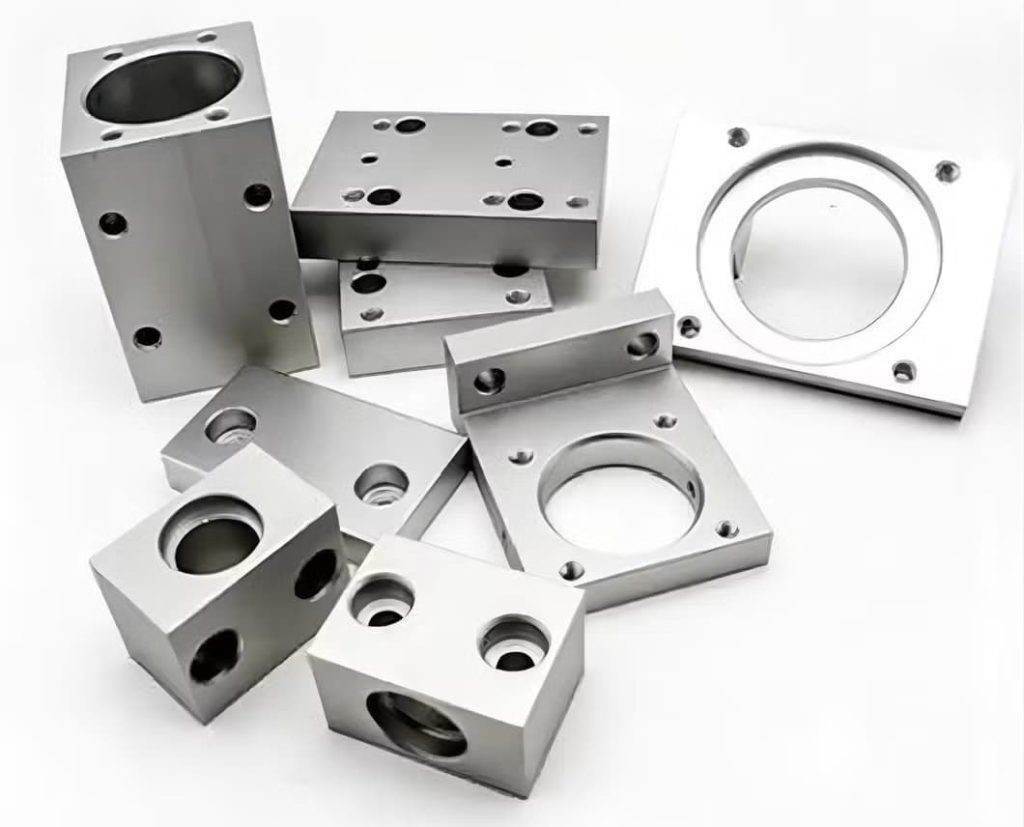
A good visual assessment is helpful, but only tells you what you can observe. Final inspection is the last chance to check that the assembly is complete and works as it should, but it is not a substitute for process control. If the other steps have been done correctly, the last check should affirm good work, not catch flaws that could have been avoided upstream.
What to Check After Assembly:
- Are all required parts installed? Compare against the BOM or assembly drawing, not just from memory.
- Are critical fasteners properly secured? Apply a torque check to key joints if required by the specification.
- Are moving parts operating smoothly? Rotate, slide, or actuate them by hand to feel for binding or roughness.
- Are seals correctly positioned? Look for seals that are twisted, pinched, or not fully seated in their groove.
- Does the completed assembly pass the required functional or leak test? Visual checks alone cannot verify pressure integrity or electrical continuity.
Catching a missing part or a misrouted seal at this stage is better than a field return. But the real goal is a process where these issues rarely make it to final inspection at all.
How to Prevent Assembly Problems During the Process
Most assembly problems don’t appear suddenly. They develop step by step, often because the same small oversights happen repeatedly. Here’s where to focus:
Focus on the steps that matter most. Not every step in an assembly carries the same risk. Identify which operations are most likely to cause downstream problems, whether that’s a critical fastener pattern or a bearing installation that’s easy to get wrong. Spending more attention on these higher-risk steps is more effective than trying to inspect everything equally.
Check critical details during assembly. In-process checks don’t have to be formal audits. A quick verification after installing a key component, confirming a torque value before moving to the next step, or checking a precision fit while the part is still accessible. These small pauses prevent the kind of compounding errors that are costly to fix later.
Keep the assembly process consistent. Variation in how assembly is done is itself a quality risk. Various assemblers with various methodologies or sequences provide unpredictable outputs. Clear work instructions, defined tooling and consistent procedures across the team are what make quality repeatable, not merely doable on a good day.
Final Thoughts
Good product reliability doesn’t come from any single heroic effort. It comes from handling the small details correctly, and consistently, across every assembly. Torque, seating, surface cleanliness, alignment, and final verification, each of these is workable on its own. The trick is to have them all under control at the same time.
At JTR, mechanical assembly is part of a broader precision manufacturing process that covers everything from CNC machining to final inspection. If you’re working on a project that requires both accurately machined components and reliable assembly, get in touch with the team for a quote and free DFM review.