

A bearing can look undamaged after it has been fitted to a shaft, even though it may already have suffered internal damage before its first rotation. This can happen when the mounting force is applied to the wrong ring and passes through the rolling elements.
Bearing installation mistakes are common. Internal damage may go unnoticed at first and only become apparent during operation through increased temperature, unusual noise or vibration, or premature bearing failure.
This guide covers bearing press-fitting, explaining where installation forces should be applied, what happens when they are applied incorrectly, and what to check before, during, and after installation.
Where Should You Apply Force When Pressing a Bearing
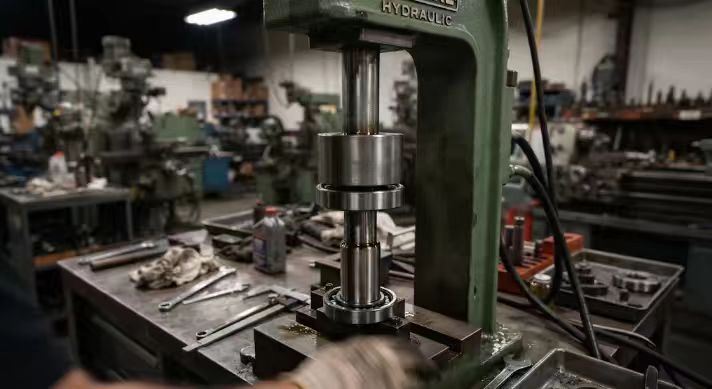
Usually you press on the ring that you are installing. There is usually a considerable amount of force required to get a bearing into its fit position because of the interference fit. You should make sure all of that force is being applied to the ring with the fit.
If you mount a bearing inner ring on a shaft by pushing on the outer ring, you have to push through the bearing elements (balls or rollers). Because these contact points are small, the bearing elements will experience very high pressure and deformation. Because of this, the bearing mounting force will end up being transferred through the bearing itself instead of directly from the tool to the shaft.
The methods described below can be applied to most situations.
| Bearing Fit Situation | Correct Force Application | Reason |
| Inner ring fitted onto a shaft | Apply force to the inner ring | Prevents force from passing through rolling elements |
| Outer ring fitted into a housing | Apply force to the outer ring | Protects the raceways and rolling elements |
| Both rings require interference fits in a non-separable bearing | Apply force evenly to both rings at the same time | Prevents mounting force from being transmitted through the rolling elements |
However, you should remember that bearing separability, construction and assembly requirements must be taken into account when choosing the right mounting technique. When it is necessary to press both bearing rings simultaneously, use a pressing tool or a stepped sleeve to ensure equal loading of both rings.
What Can Happen If the Force Passes Through the Rolling Elements
Often, it takes some time before the damage becomes visible, but when it does, it shows up as:
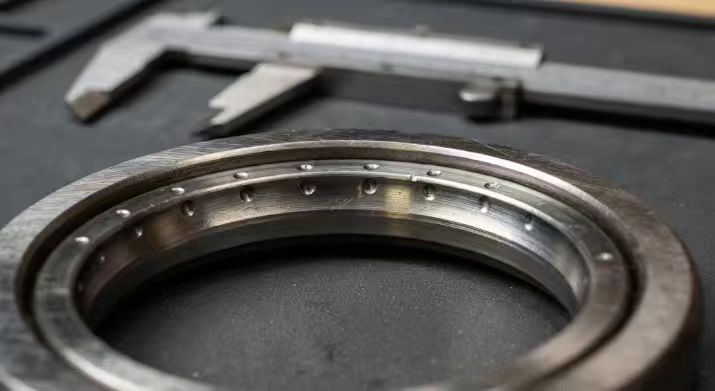
- Indentation on the raceways: Rolling elements can leave permanent indentations in the raceways. Known as brinelling, the indentation pattern mirrors the ball/roller arrangement.
- Noise and vibration: Rolling elements make contact with the indentation as the bearing rotates, resulting in noise (humming or clicking) and vibration.
- Reduced bearing life: The indentations can create stress concentrations that lead to surface fatigue and eventually spalling. As the damage progresses, material may break away from the raceway, causing premature bearing failure.
It is common to find that a bearing is noisy after the installation because it was damaged during the installation rather than the application itself.
Other Press-Fitting Mistakes That Can Damage a Bearing
Using the Wrong Press-Fitting Tool
Using an improvised metal bar or striking the bearing directly with a hammer can apply force unevenly and damage the bearing. Use a sleeve that matches the size of the ring being fitted. For small bearings with light fits, a suitable mounting tool may be used with light hammer blows when permitted by the manufacturer’s instructions.
Pressing a Bearing Without Proper Alignment
A bearing positioned at an angle on a shaft or inside a housing will have one edge enter before the other. Because the bearing ring has a tendency to enter off-center, as you push it further, it may score the surface of the bearing seat.
The worst thing to do after this point is to try to advance the bearing. First you must position the bearing as close as possible, straight on. When doing this you must insure that the press will move along the centerline of the shaft or housing.
What to Check Before, During, and After Press-Fitting
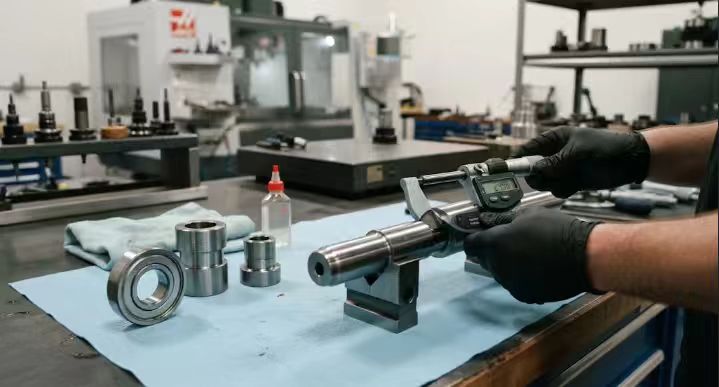
- Confirm the fit: Check the specified fit and tolerances for both the shaft and housing. An interference fit is often required, but excessive interference can increase mounting force and reduce the bearing’s internal clearance.
- Check the mating surfaces: Inspect the parts for burrs, dirt, rust or scratches. Clean the surfaces and apply a thin layer of suitable light oil to the mating surfaces, following the bearing manufacturer’s instructions.
- Choose the right tool: Only push on the ring of the bearing being pressed.
- Monitor the pressing process: Be patient and press steadily. If you notice a sudden increase in resistance, stop and check for misalignment, burrs, or an incorrect fit before continuing.
- Inspect after installation: After the bearing is pressed against the shoulder, check that it rotates smoothly without binding or unusual noise.
Getting the Fit Right
The installation of bearings is a basic skill, yet it pays to follow a few standard practices to make installation less expensive and save a lot of valuable time later. These practices include applying force to the correct ring, using the right tools, and checking bearing alignment. Following these standard practices also helps prevent bearing damage.
If you are setting up or improving a bearing press fitting process and want a second opinion on tooling or setup, the team at JTR Machine is happy to talk it through.