

You replaced it with a new O-ring. The part number is correct, but it still leaks. It’s a frustrating situation, and it happens more often than most people think.
An O-ring leak is seldom merely a sizing issue. The seal depends on the groove, the mating surfaces, the material and the method the ring was mounted. If any one of these is off, you get an o-ring that doesn’t seal.
This guide discusses frequent causes of o-ring leaks, what a damaged ring can tell you and what to look for before you replace it again.
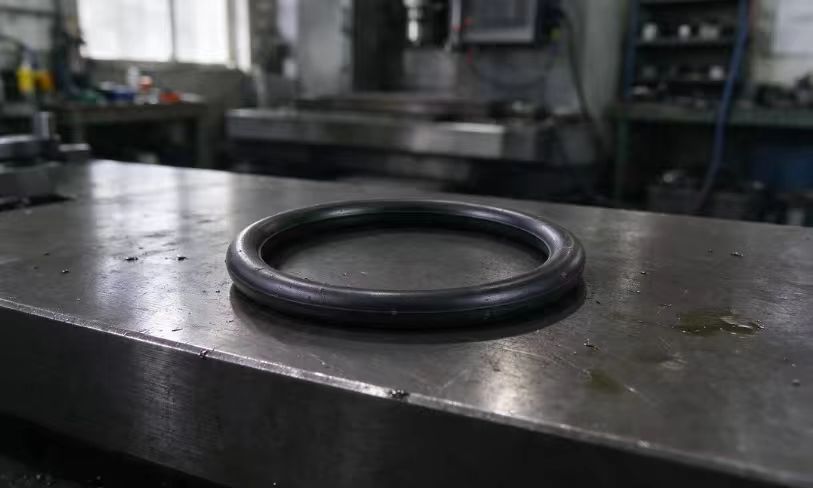
The O-Ring Fits, but the Groove May Be the Problem
Only a matching interior diameter and cross-section can establish that the ring is the proper size. Doesn’t say anything about the groove. The groove determines how much the ring is squashed and it is that squashing that makes the seal.
- Groove too deep: The ring is not compacted enough, therefore there is a small gap that stays open and fluid gets into it.
- Groove too shallow: The ring is compressed too tightly, which can lead to excessive deformation and premature failure.
- Groove too narrow: The groove may be overfilled, leaving too little room for the ring to expand as temperature or fluid exposure causes volume changes.
- Sharp groove corners: Edges that do not have a small radius can nick the ring during assembly.
- Tolerance stack-up: Two pieces that are within tolerance can nonetheless make a bad squeeze.
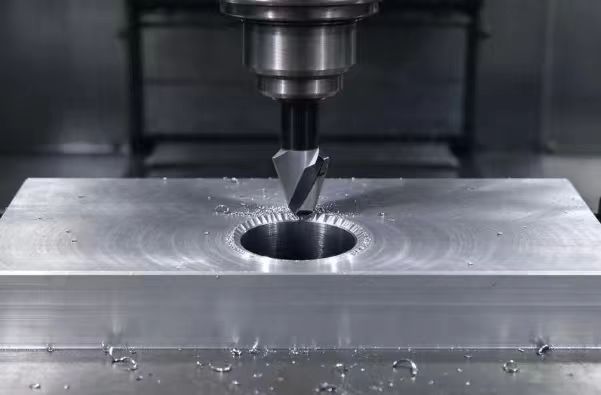
In practice, it is the groove depth and radius that are most likely to be missed during inspection. A burr at the edge can destroy a perfectly good ring.
Other Reasons an O-Ring May Not Seal Properly
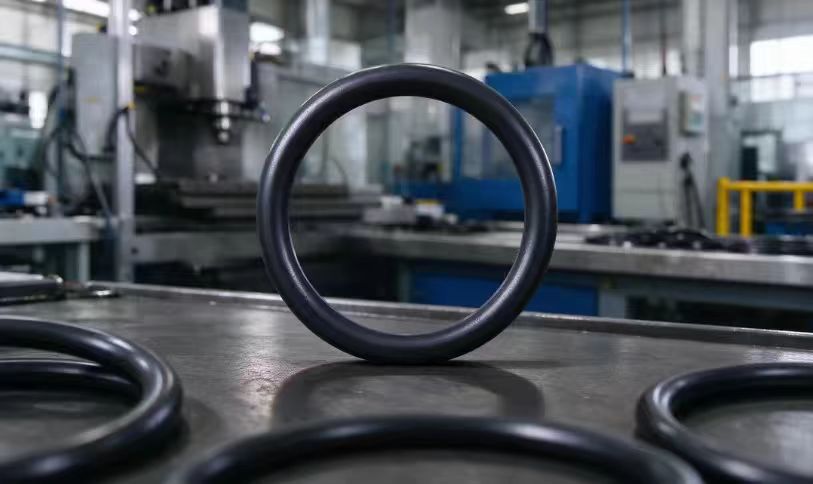
Rough or Damaged Sealing Surfaces
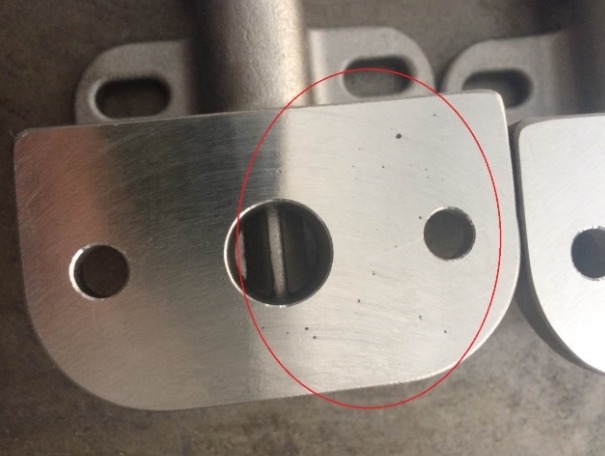
Scratches, tool marks or dents on the sealing face give fluid a path around the ring. Surface finish matters in both directions. A surface that is too rough will abrade the ring, while one that is too smooth will not hold a lubricating film in dynamic use.
Damage During Installation
Many O-ring installation problems start with small mistakes that are easy to miss during assembly.
- Sharp edges: Threads, ports and burrs can cut the ring as it glides by.
- Dry assembly: Without a suitable lubricant the ring can roll, twist or tear.
- Over-stretching: A ring pulled too far thins out and loses its squeeze.
When you’re building in volume, what matters most is consistent handling. Cleaning parts, using a suitable lubricant when needed, and keeping the ring away from sharp edges all help make installation more consistent.
The Material Does Not Suit the Working Conditions
A ring can be the perfect size but the wrong material. Fluids can cause rubber to swell, soften or harden, and heat speeds up aging. Verify the working fluid and temperature range with the material, not simply the size.
Pressure or Movement Is Affecting the Seal
There are several reasons an O-ring will need to be replaced. High pressure applications may cause the material of the O-ring to get nibbled or damaged as the high pressure can cause the ring to be pushed into the gap where clearance exists. Dynamic applications increase the wear of an O-ring due to the nature of sliding.
In reciprocating applications, misalignments or a lack of proper lubrication may result in only a portion of the O-ring sliding, while other portions roll, causing the O-ring to get twisted in the groove. Using a design meant for static seals in a dynamic application is a common oversight.
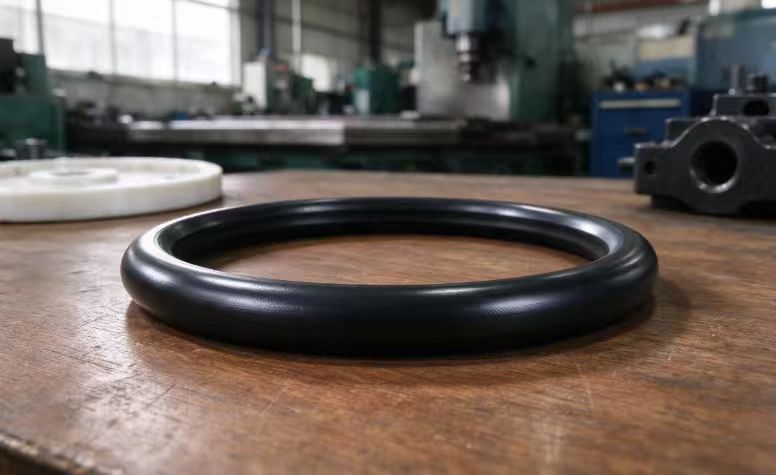
What the Old O-Ring Can Tell You
A failed ring is useful evidence, so keep it before you throw it away. Its shape and damage pattern can point you toward the cause of the o-ring failure.
Appearance is only a starting point, though. Premature failure is often a mix of root causes rather than one failure mode. So don’t settle on a single cause from one symptom. If the leak keeps returning, look at the working environment and the condition of the surrounding parts as well.
The table below is a quick reference for what to check next.
| What the O-Ring Looks Like | Possible Cause | What to Check |
| Flattened or permanently deformed | Compression set | Temperature, material, and squeeze |
| Cuts or nicks on the surface | Installation damage | Sharp edges, burrs, and assembly method |
| Nibbled or broken edges | Extrusion | Pressure and clearance gap |
| Twisted or spiral-shaped marks | Spiral failure | Lubrication and dynamic movement |
| Swollen or hardened material | Material incompatibility or aging | Working fluid and temperature |
What to Check When Replacing an O-Ring
- Confirm the O-ring size. Measure the interior diameter and cross section rather than depending on an old part number.
- Inspect the groove. Look at depth, width, corner radius and surface condition.
- Check the working conditions. Confirm the fluid, temperature and pressure the ring actually sees.
- Review the installation process. Clean the parts, lubricate when needed, and do not twist or overstretch.
- Test the assembly for leaks. Pressure test before the unit goes back into service.
Why the Leak Keeps Coming Back
When the same joint leaks time after time, the ring isn’t usually the main problem. To swap it is to treat the symptom, and leave the cause untouched.
One of the most typical reasons is a change in the operating conditions. A greater operating temperature, a new cleaning fluid or a pressure rise may push a reliable design to its limits.
Another is variation between batches. If the groove is machined to a loose tolerance, some units seal well and others don’t, which makes the problem look random.
Maintenance habits count too. Mixed O-ring materials in the parts bin, reused rings or worn grooves from repeated disassembly can all quietly undo a good design.
The pattern is the clue. If leaks concentrate around one batch, one operator or one season, look for changes in the machined parts, assembly process or operating conditions rather than assuming the O-ring size is the problem.
A leaking O-ring that is the correct size usually means there is a problem with the groove, the surfaces, the material, the installation or the operating circumstances. Checking these areas before fitting another ring can help prevent the same leak from returning.
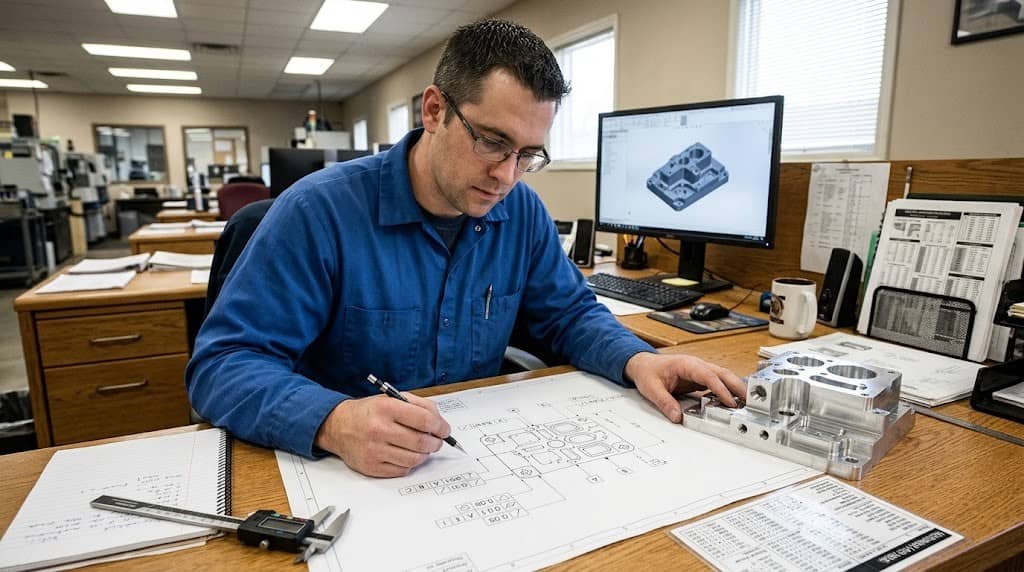
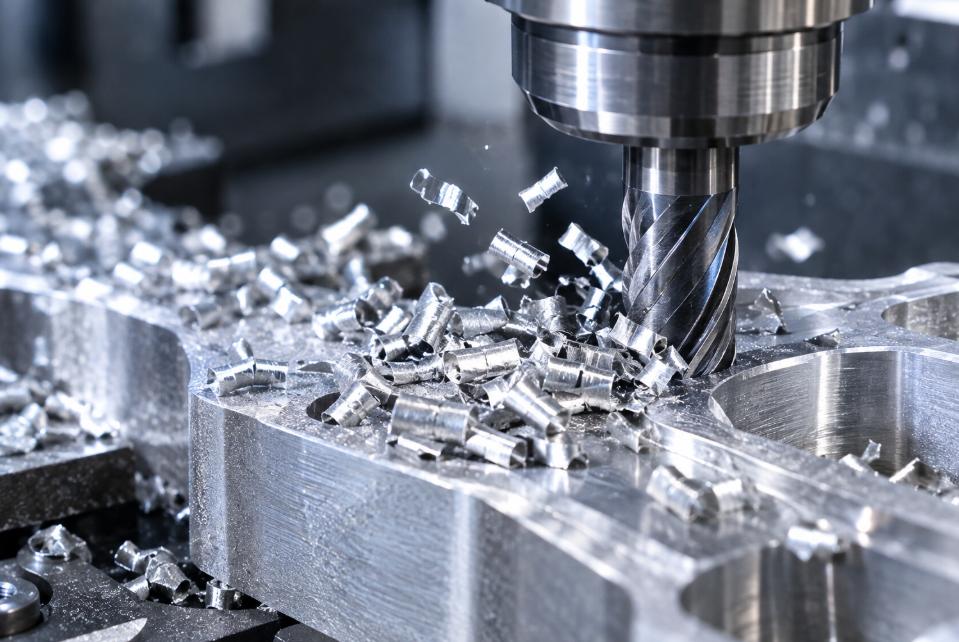
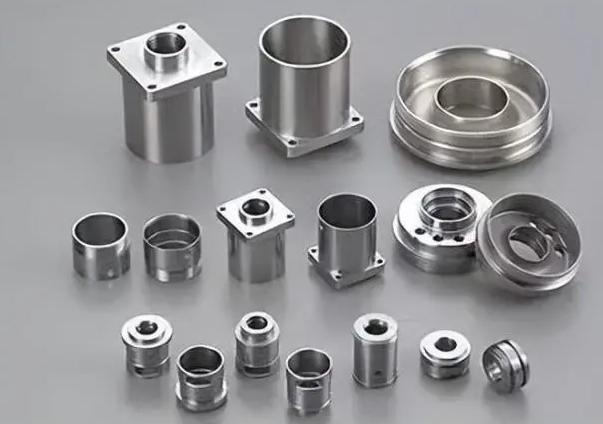
If your O-ring leaks trace back to machined grooves or sealing surfaces, JTR can review your drawings and help you get those details right. Send us your files for a free DFM check through our CNC machining service.