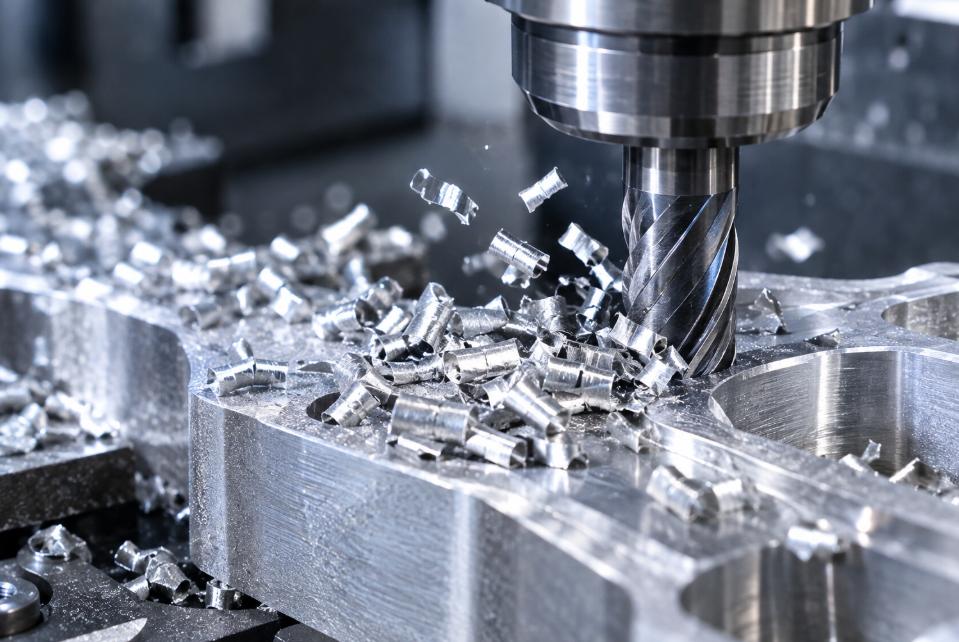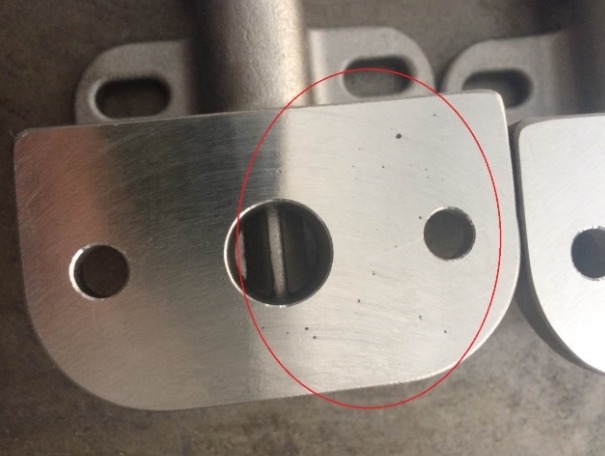


Feel your finger over a fresh drilled hole and you will typically feel a thin pointy lip around the edge. It may seem like a tiny thing but it can create major problems down the road from screws that start out of alignment to pins that won’t seat.
A hole chamfer is the easy repair. In this guide, we’ll discuss why you chamfer a hole edge, where chamfers matter most, how to choose an angle and size, and how to show them on a drawing so that your CNC machining supplier gets it right the first time.
Why Do Machined Holes Need Chamfered Edges?
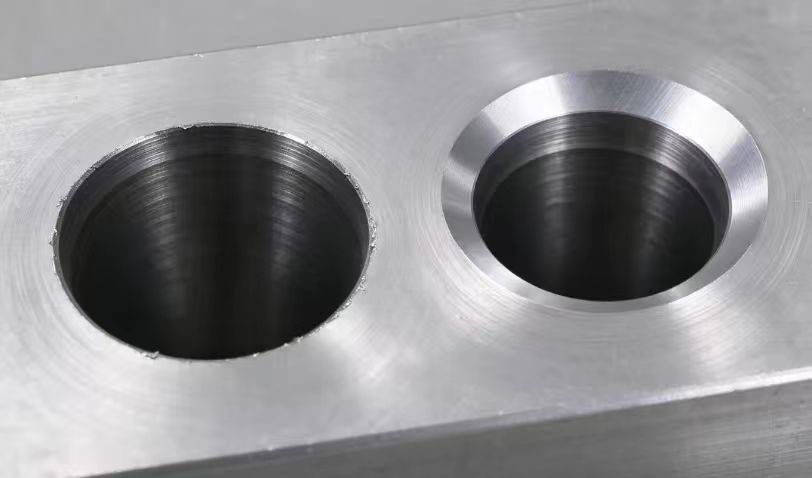
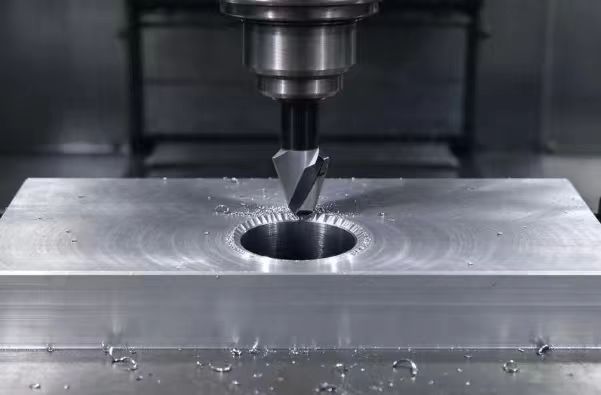
Drilling and other hole-making operations can leave burrs around the hole entrance and exit, with exit burrs often requiring additional attention. A chamfer removes the sharp edge at the hole opening and can help eliminate entry-side burrs. For through-holes, the opposite side may also need separate deburring. Chamfers are widely used in machining and to make many mechanical designs easier to assemble, which is exactly their job on holes.
In our daily work, we see four practical benefits:
- Easier assembly: The angled entry guides screws, pins and shafts into the hole.
- Safer handling: Operators and assemblers are less likely to get cut.
- Cleaner mating surfaces: Removing burrs allows parts to rest flat against each other.
- Better coating results: Paint and plating can have fewer coverage issues around properly prepared edges than around sharp edges, although the results depend on the coating process.
Common Applications of Hole Chamfers
1. Threaded Holes
The chamfer also protects the first full thread from damage during fastener installation. However, it does not prevent coating buildup during anodizing or plating. If thread fit must be maintained, masking or appropriate machining allowances may be needed.
2. Holes for Pins and Shafts
The chamfer is a guide for dowel pins and shafts. A short lead-in makes pressing or sliding parts with tight fits considerably smoother, as a small lead-in will prevent the pin from hitting a sharp edge and jamming. The chamfer itself should not be so large as to impact how the fit works.
3. Bolt Clearance Holes
Clearance holes are larger than the bolt, so alignment is less of a problem. The main reason to chamfer here is the hole edge itself. A burr or raised edge around the hole can interfere with the bolt head or washer sitting flat, or leave marks during assembly. A light edge break helps prevent this.
Here is a quick comparison of the four most common cases:
| Hole Type | Main Purpose of Chamfering | Design Consideration |
| Threaded hole | Easier screw entry and thread protection | Avoid reducing usable thread length |
| Pin hole | Guide pin insertion | Maintain the required fit |
| Bolt clearance hole | Smooth fastener entry | Keep sufficient clearance |
| General drilled hole | Remove burrs and sharp edges | Avoid unnecessary material removal |
Choosing the Right Chamfer Size and Angle
There isn’t one correct chamfer. The proper decision relies on the size of the hole, the material, fastener and how the item will be utilized. A good rule is to make the chamfer big enough to do its job and no bigger.
For threaded holes, most designers make the chamfer diameter somewhat bigger than the thread’s major diameter. This provides clearance at the hole entrance and helps protect the first full thread during assembly. Going any larger only eliminates material and shortens the usable thread, important in thin walls and aluminium parts.
The chamfer angle for holes is usually 45° for general work. Some drawings also use 60° or 90° countersink-style cuts, depending on the tool and the fastener. The table below shows how the common choices compare:
| Chamfer Angle | Typical Application | Key Consideration |
| 30° | Gentle lead-in | Removes less material |
| 45° | General hole edge chamfer | Common for general-purpose edge treatment |
| 60° | Applications requiring a wider bevel for a given depth | Check available edge material and hole geometry |
These angles are common references, not fixed standards. The final size and angle should follow your part drawing, the fit requirements and the real working conditions. Thread form also plays a role. ISO metric threads have a 60° thread profile, but this is separate from the angle of a hole chamfer or countersink. When a countersink is used for a flat-head screw, its angle should match the fastener head to ensure proper seating.

How to Specify Hole Chamfers on a CNC Machining Drawing
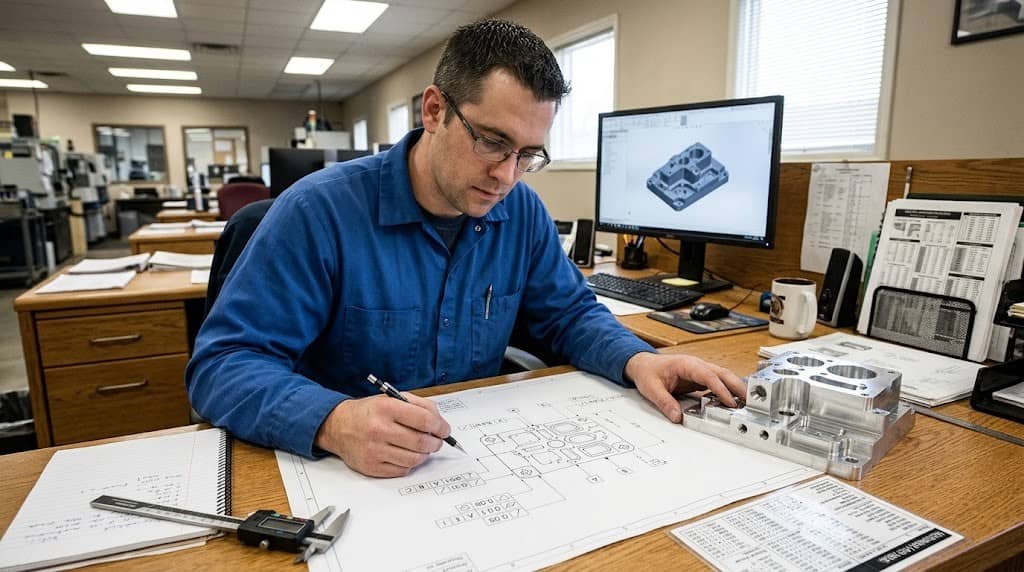
Unclear notes are one of the most common reasons for rework, especially when you work with a China CNC machining supplier across time zones. A few clear lines on the drawing save a lot of emails. Make sure to include:
- Chamfer size: State the distance, such as 0.5 mm, or the diameter at the hole mouth.
- Chamfer angle: Write it out, for example 45° or 90° included angle. “Included angle” and “angle per side” are easy to mix up, so be specific.
- Critical requirements: Mark any hole where the chamfer must stay within tight limits, such as fit holes or holes near thin walls.
- General edge treatment: Add a title block note like “Unless otherwise specified, break non-critical sharp edges 0.2 to 0.5 mm” so holes without a callout are still handled.
Getting the Chamfer Right for Better Assembly
A hole chamfer takes seconds to create yet it affects how pieces join together, how they feel in the hand and how long the coating lasts. Select a size appropriate to the fastener, use a sensible angle and write it legibly on the sketch.
At JTR Machine, we review every chamfer note before cutting, and we will point out anything unclear. If you have a drawing ready, send it to us and we will take a look.